

There’s a unique comfort in a bowl of freshly set homemade curd — especially when it’s made the traditional way, in a mudpot. It’s cooling, nourishing, and incredibly versatile. Whether it’s dolloped over hot rice or served with a side of pickles, thick curd is a staple in Indian households — not just as food, but as culture.
In this post, we’ll walk through how to make thick curd in a mudpot, and why this simple process holds such a rich place in Indian kitchens. It’s natural, uses just two ingredients, and is a great starter for anyone interested in probiotic, home-prepped basics.
Why Curd Is So Valuable
Curd (or dahi) is India’s original superfood. It’s probiotic, packed with calcium and protein, and excellent for digestion. In fact, daily consumption of curd is known to promote gut health, cool down the body, and strengthen immunity — especially in tropical climates.
While store-bought curd is convenient, nothing beats the flavor and freshness of homemade dahi — especially when it’s been allowed to set in a mudpot.
💡 Pro Tip: Mudpots help curd breathe and naturally thicken while developing a subtle earthy aroma that metal or plastic containers just can’t match.
A Tradition Steeped in Science
Making curd in India goes back centuries. Before refrigerators and packaged culture starters, every home would have its “starter curd” saved from the previous batch. It’s a practice handed down generations, and one that aligns beautifully with zero-waste, natural living.
Mudpots, in particular, aren’t just for aesthetics. Their porous nature allows slight evaporation, which helps regulate temperature and results in that dense, luscious texture that every curd lover craves.
What Goes Into the Perfect Homemade Curd
Just two ingredients, but they do all the heavy lifting:
- Full Cream Milk – The higher the fat content, the thicker the curd. Boiling also helps concentrate the milk.
- Thick Curd (Starter) – This acts as a culture agent, introducing good bacteria to kick off the fermentation process.
You’ll also need a clean mudpot, preferably one that’s been soaked and rinsed well to remove any dust or clay residue.
Making Thick Curd in a Mudpot
Start by thoroughly washing your mudpot. Soaking it in water for an hour beforehand helps seal the pores and prevent milk from seeping through. Then, boil the full cream milk and let it cool until it’s warm — not hot, just above body temperature.
Now, stir in your starter curd and mix gently but thoroughly. Once combined, pour the milk mixture into your mudpot. Cover it with a lid or plate, and place it somewhere warm and undisturbed for 6–8 hours.
The result? A beautifully set, thick curd with a rich texture and mild tang that’s perfect on its own or as part of any meal.
How to Serve
Homemade curd is incredibly versatile:
- With rice and a pinch of salt for a light meal.
- Swirled into buttermilk or spiced curd rice.
- As a side with parathas or pulao.
- In raitas, smoothies, or even dessert!
💡 Pro Tip: For ultra-creamy texture, refrigerate the curd once it’s set. Chilling helps firm it up beautifully.
Packing and Storage Tips
If you’re planning to carry it, scoop the set curd into a steel or glass container with a tight lid. It’ll stay fresh for a few hours. For longer storage, always refrigerate and consume within 2–3 days.
Avoid stirring it too much before packing — this helps retain the structure.
Making Curd for a Crowd
Hosting a gathering? Here’s how you can scale:
- Use large mudpots or several small ones.
- Boil the milk in a wide vessel and cool in batches.
- Use 1 tbsp of starter curd per litre of milk.
- Set it early in the day so it’s ready to serve by mealtime.
- Chill it slightly before serving for best results.
Thick Curd
Ingredients
Instructions
Prep Work
-
wash clay pots
rinse and clean the clay pots thoroughly before use
-
cool down boiled milk
after boiling the milk, allow it to cool slightly, more than warm
Method
-
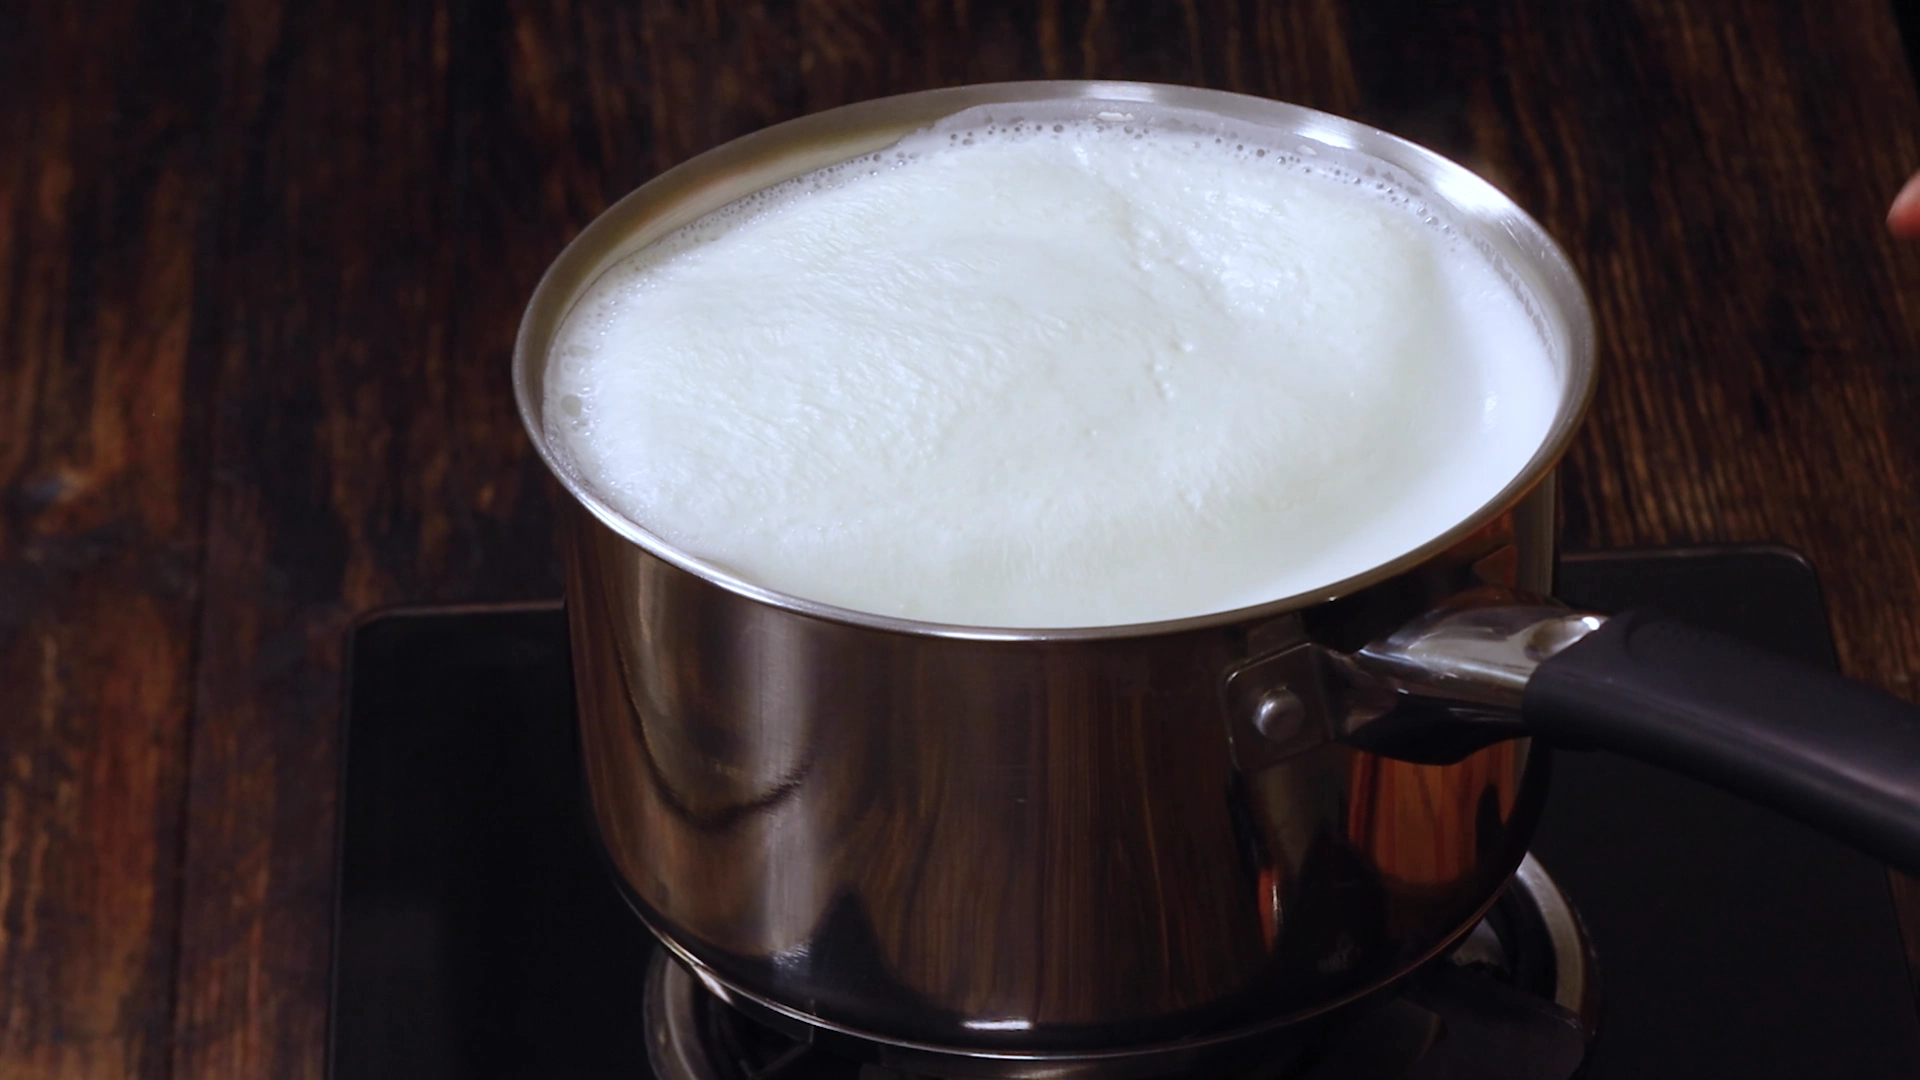
boil the milk
bring the full cream milk to a boil and switch off the heat
-
mix curd with milk
Once the milk is little more than warm (not hot), add the curd and mix well with the help of two vessels by transfering the mixture again and again.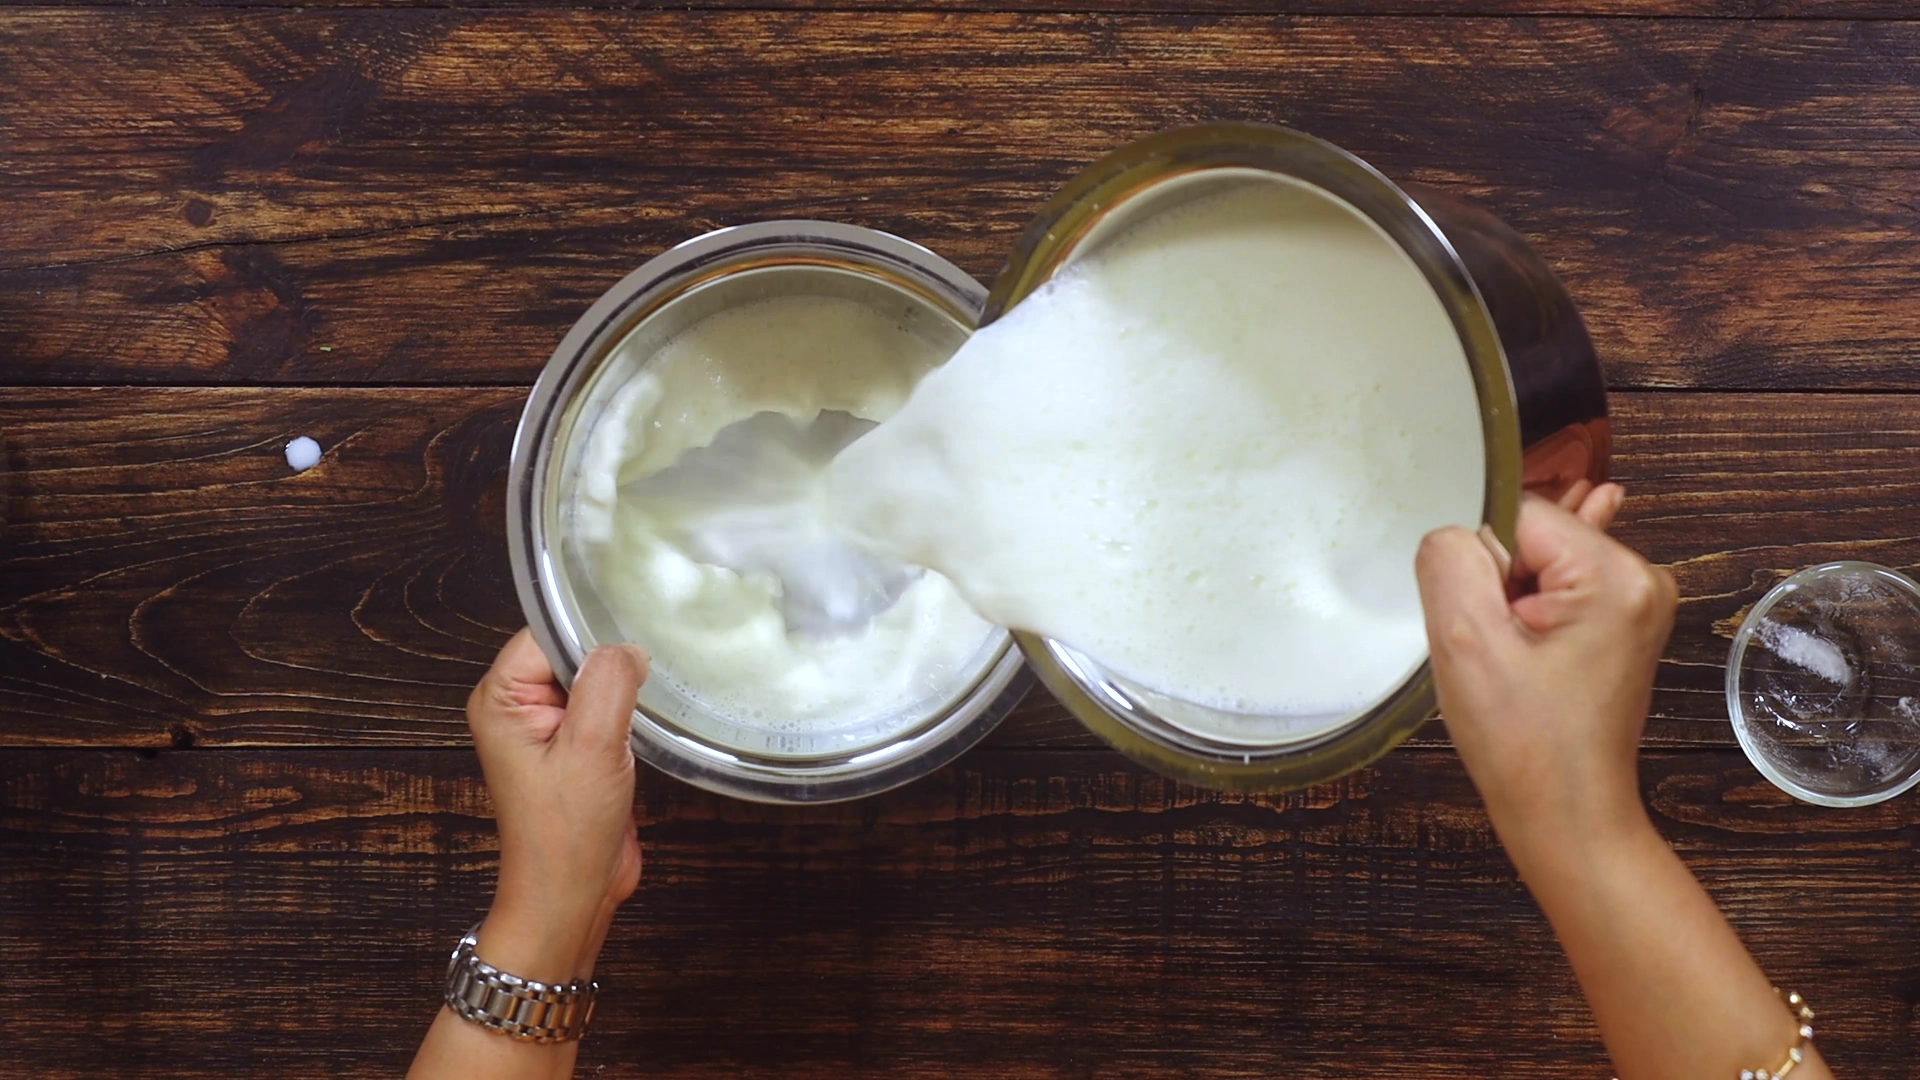
-
pour into clay pots
pour the curd-milk mixture into the clean clay pots -
allow curd to set
keep the clay pots in a warm spot undisturbed for about 8 hours -
curd is ready
after setting time, the curd will be thick and set, ready to enjoy -
serve and store
use as needed or refrigerate for later use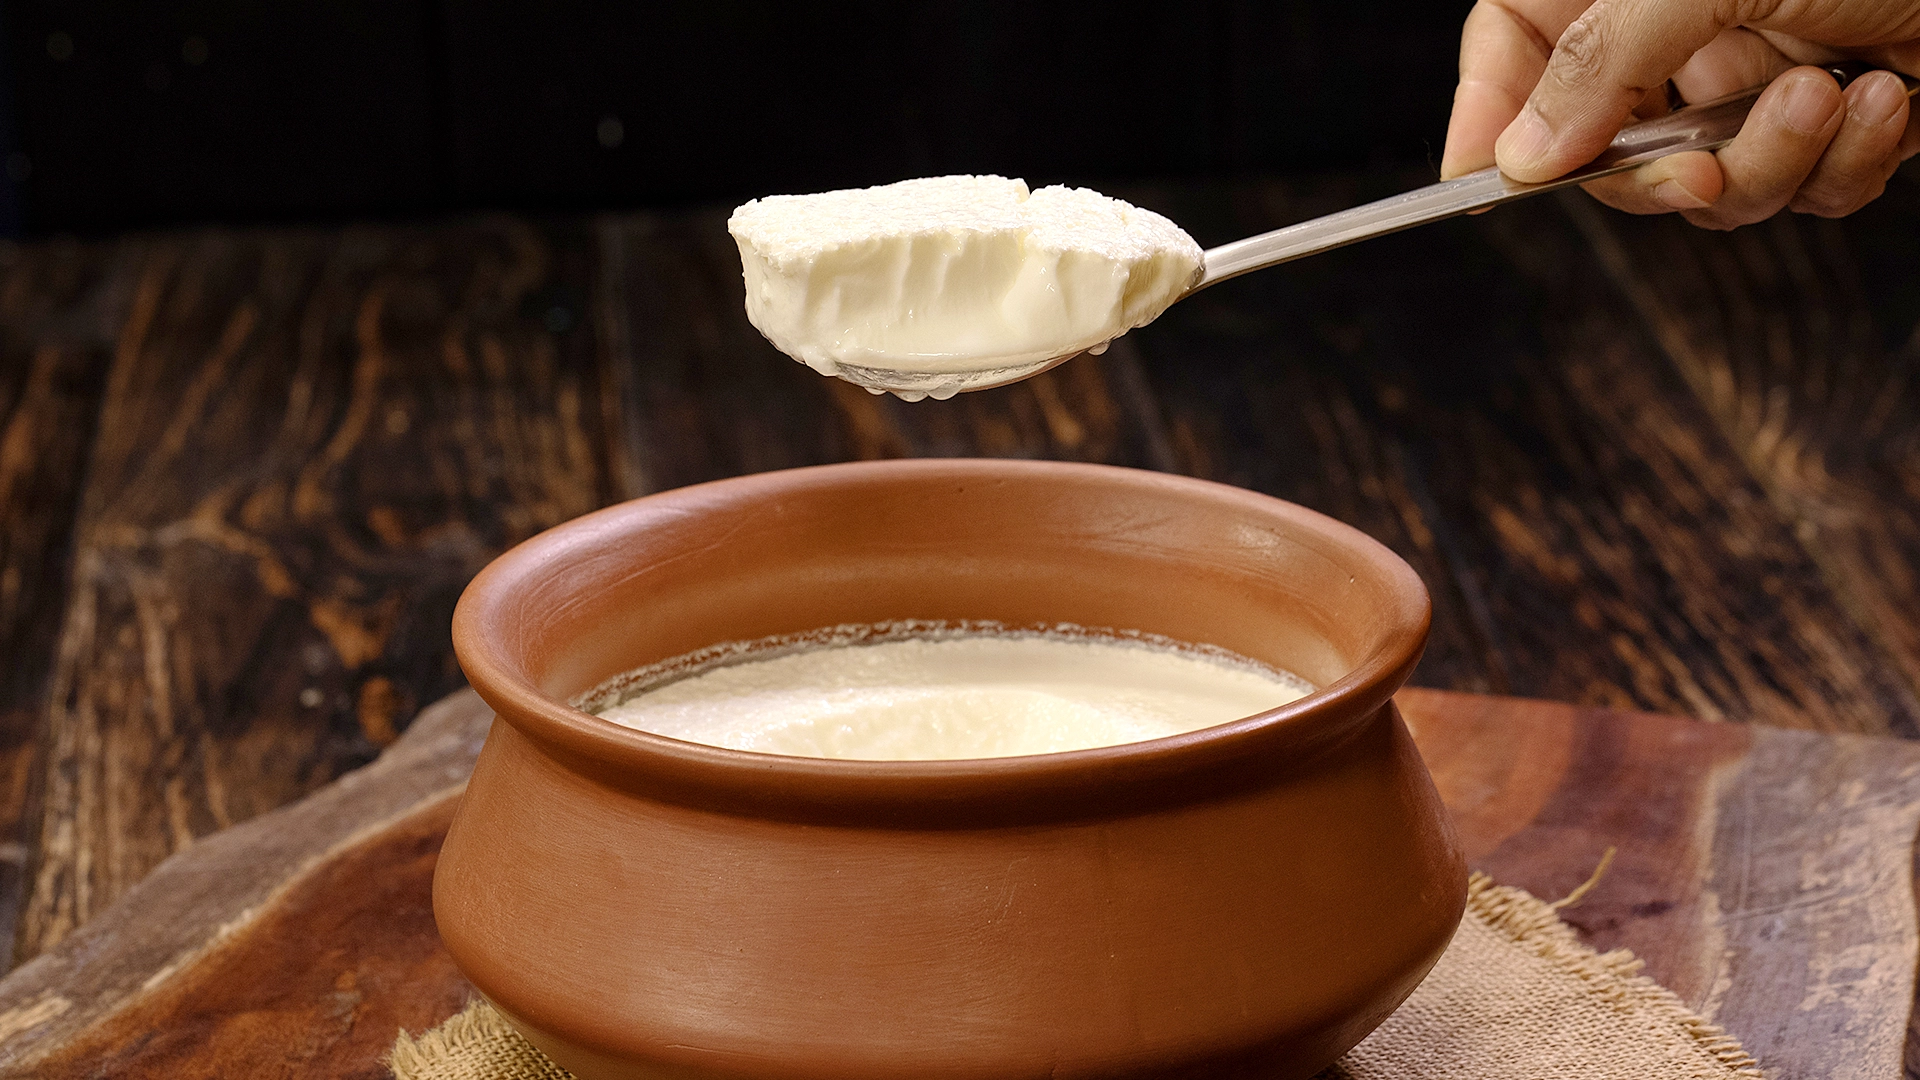
Equipment


Affiliate Disclosure: This post contains Amazon affiliate links, i.e., when you buy any product using the links below, we get commissions. but it doesn’t cost you anything extra. If you do purchase any product using the given links, we thank you in advance!
Nutrition Facts
Servings 4
- Amount Per Serving
- Calories 150kcal
- % Daily Value *
- Total Fat 8g13%
- Saturated Fat 5g25%
- Cholesterol 30mg10%
- Sodium 60mg3%
- Potassium 280mg8%
- Total Carbohydrate 12g4%
- Sugars 10g
- Protein 6g12%
- Vitamin A 400 IU
- Vitamin C 30 mg
- Calcium 200 mg
- Vitamin D 30 IU
- Riboflavin 0.3 mg
- Phosphorus 180 mg
- Zinc 0.8 mg
* Percent Daily Values are based on a 2,000 calorie diet. Your daily value may be higher or lower depending on your calorie needs.

User Reviews
Tried and worked well