

If you’re a cutlet lover, get ready because this Russian Chicken Cutlet might just become your new go-to snack. There’s something magical about that crispy exterior and soft, flavorful inside, right? And this version hits all the right notes.
These cutlets are loaded with juicy boneless chicken, fresh veggies, and a perfectly balanced mix of spices that make every bite irresistible.
The best part? You can prep the mixture ahead of time and stash it in the fridge for a day. So whenever the craving hits, all you have to do is fry them up in minutes.
Serve them hot with ketchup or mayo, and you’ve got yourself a seriously addictive, crispy snack.
Trust me—one bite, and you’ll understand why these cutlets are such a hit.
Alright, let’s jump into the recipe!
Other Related Recipes You Might Like:-
- Andhra Green Chilli Chicken — fiery Andhra-style chicken with green chillies and bold spices.
- Grilled Chicken Sandwich — smoky grilled chicken layered in a crisp sandwich — great as a handheld option.
- Red Chilli Sauce Chicken Sandwich — tangy-spicy chicken in a red chilli sauce, served in sandwich form.
- Guntur Chicken Masala — robust, spicy Guntur-style chicken masala with deep red chilli flavour.
- Afghani Chicken Curry — creamy, mildly spiced Afghani-style chicken curry — a rich companion to cutlets.
- Mangalore Style Chicken Urval — coastal Mangalorean chicken fry with tangy and spicy notes.
- Butter Chicken — classic creamy, buttery tomato-based chicken gravy — a crowd-pleasing pairing.
Russian Chicken Cutlets
Description
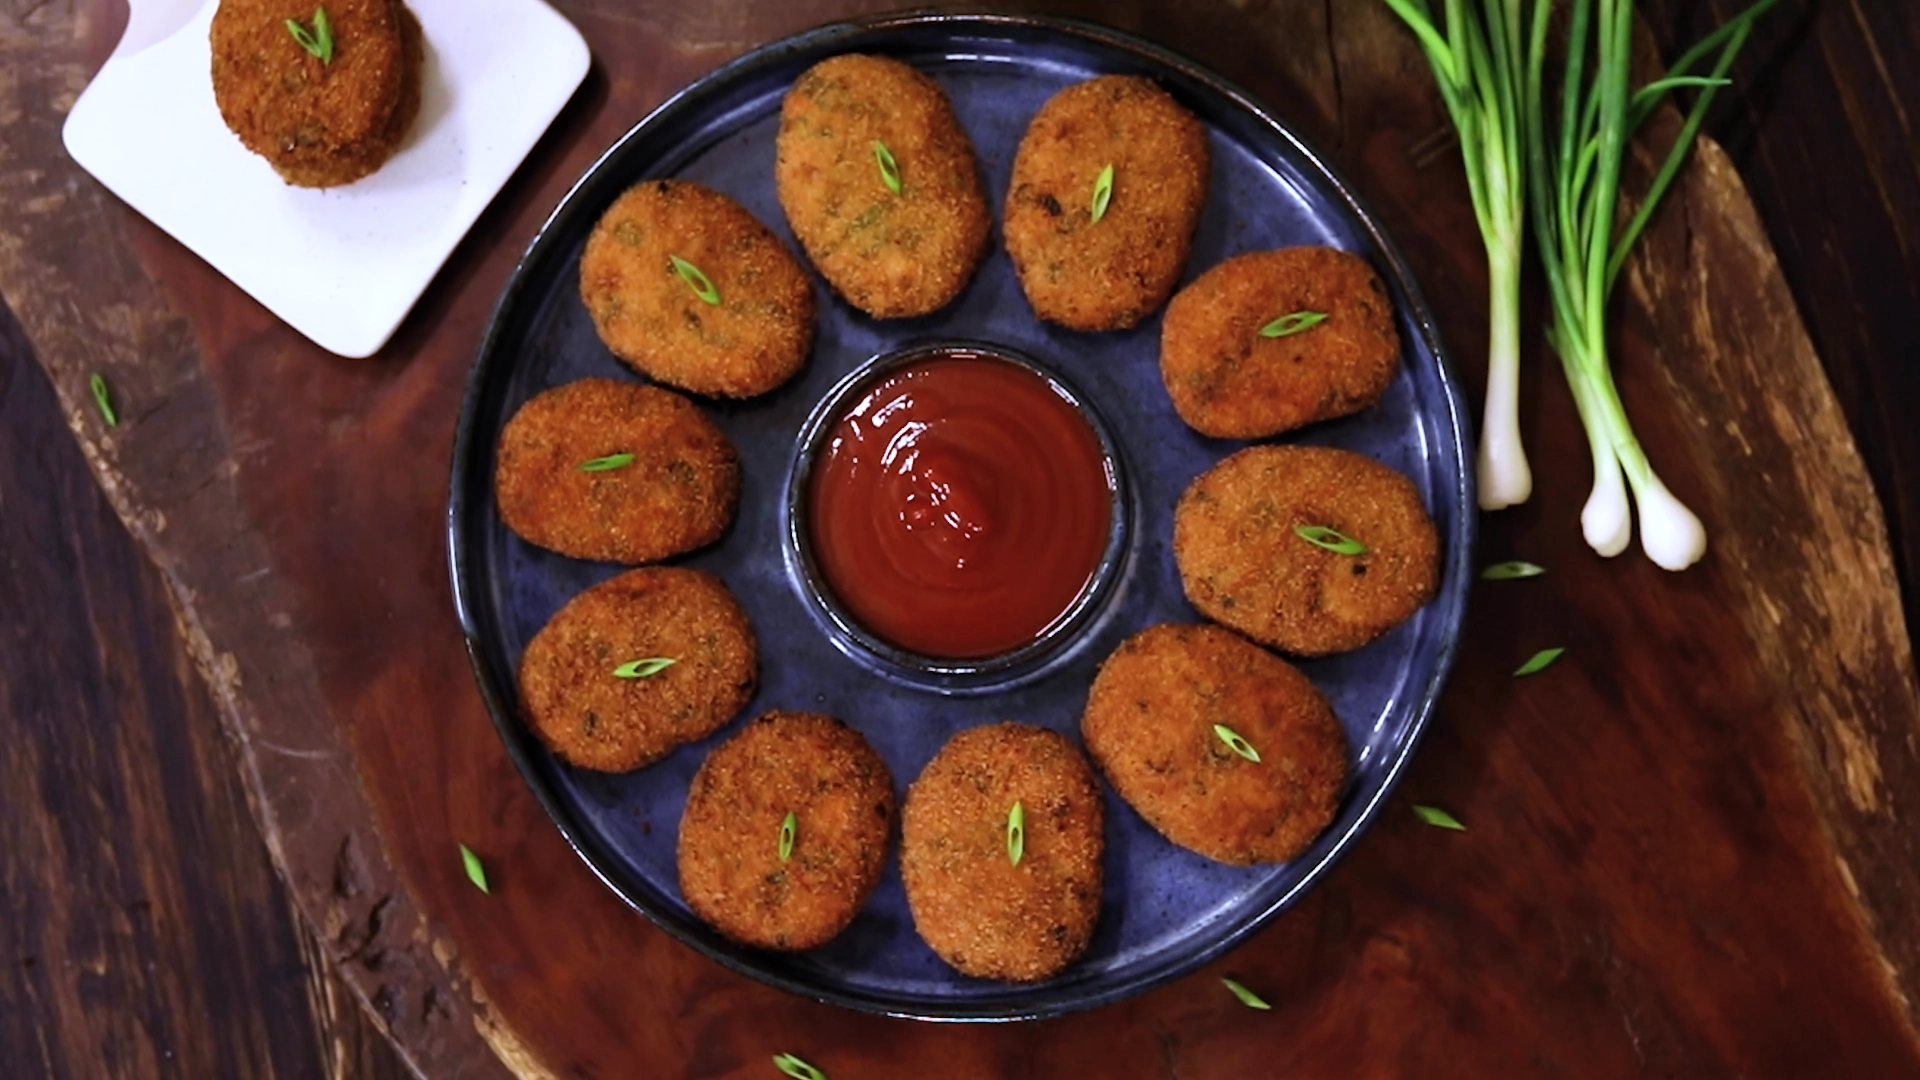
These crispy and flavorful Russian Chicken Cutlets are the perfect starter or evening snack made with shredded chicken, fresh veggies, and aromatic spices. Each bite is packed with rich, creamy texture inside and a crunchy golden crust on the outside. Easy to prepare and freezer-friendly, this recipe is ideal for parties, tea-time treats, or even a light dinner. Serve it with your favorite dip and enjoy a restaurant-style cutlet right at home!
Ingredients
Instructions
Prep Work
-
Chop the Veggies
Finely chop the carrots, beans, green chilies, and spring onions.
-
Spice Station Ready
Keep all the spices measured and ready.
-
Prep the Egg Wash
Crack the eggs in a bowl and beat them lightly.
-
Coating Station Setup
Keep the bread crumbs ready on a plate.
Method
-
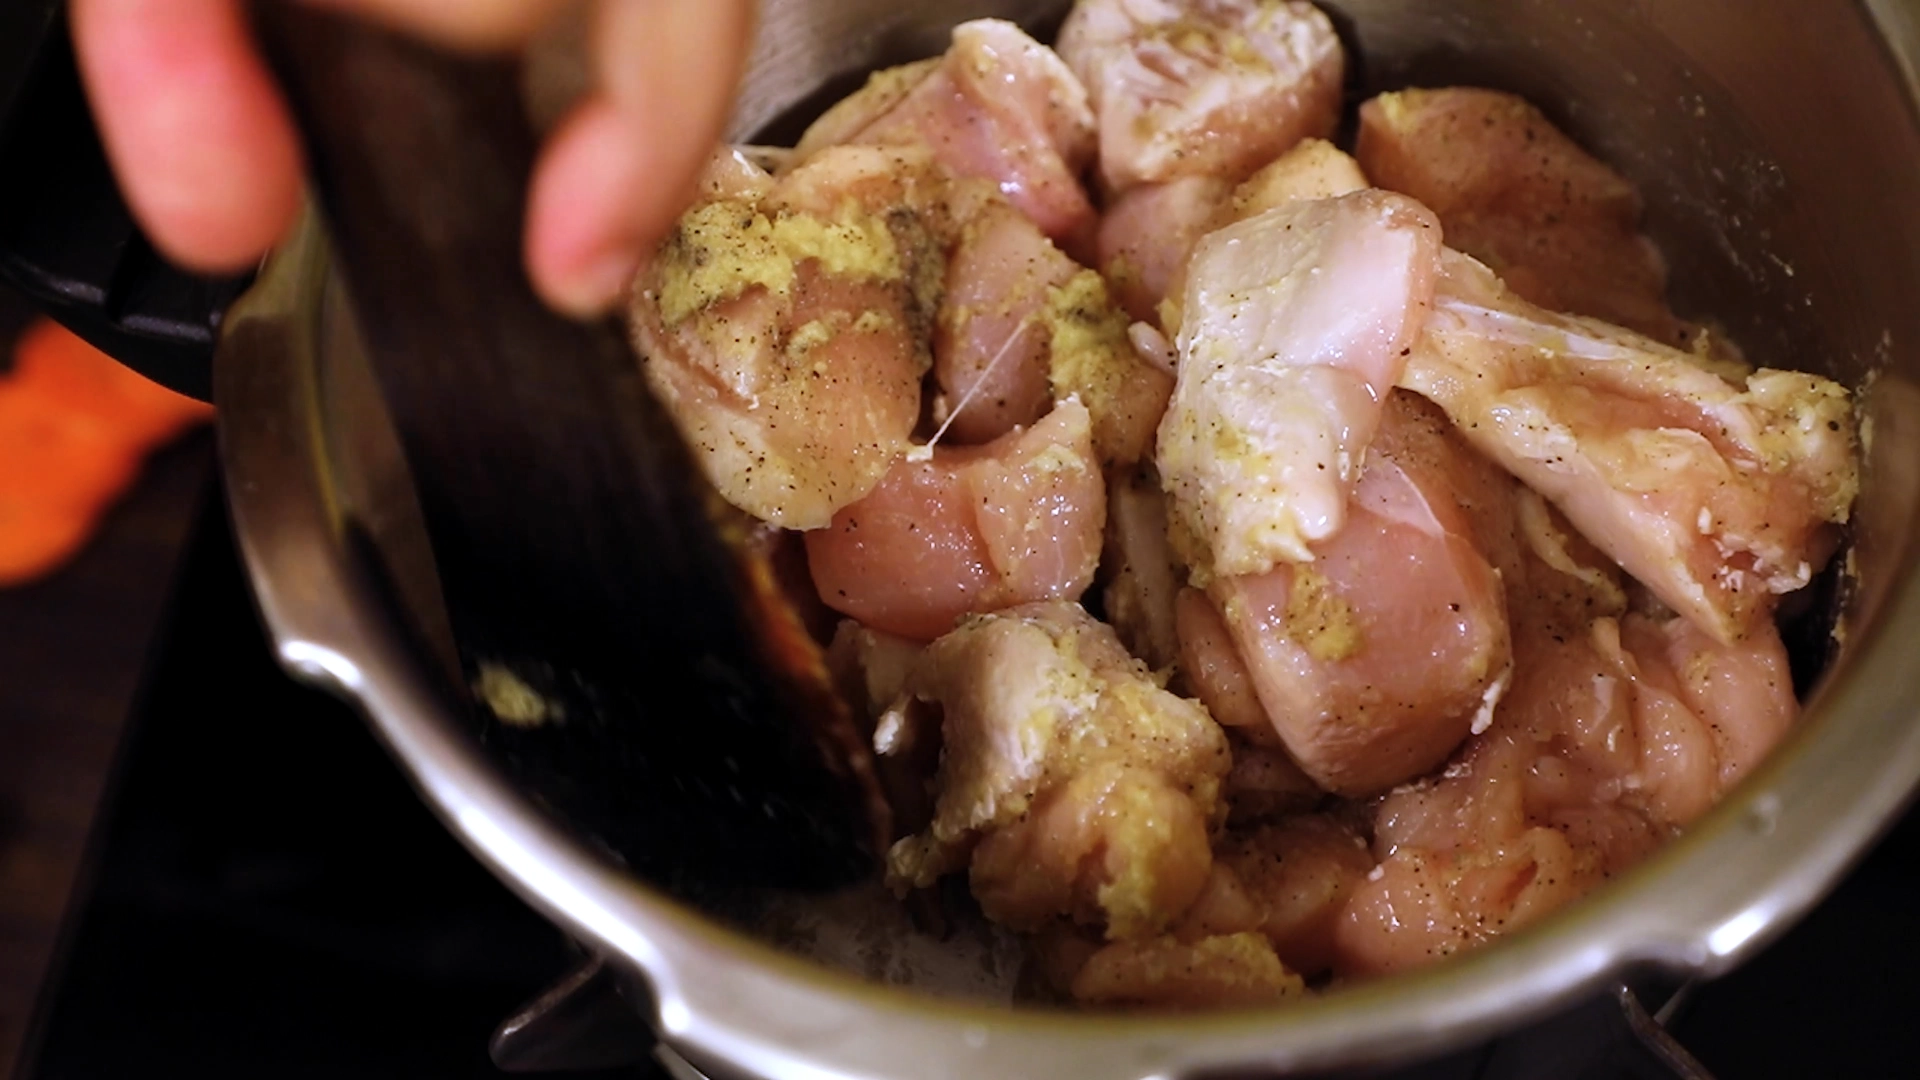
Season & Mix
Take boneless chicken in a pressure cooker. Add ginger garlic paste, pepper, salt, and water. Mix well.
-
Pressure Cook
Cook for 3 whistles on medium-low flame. Separate the chicken from the stock and let it cool.
-
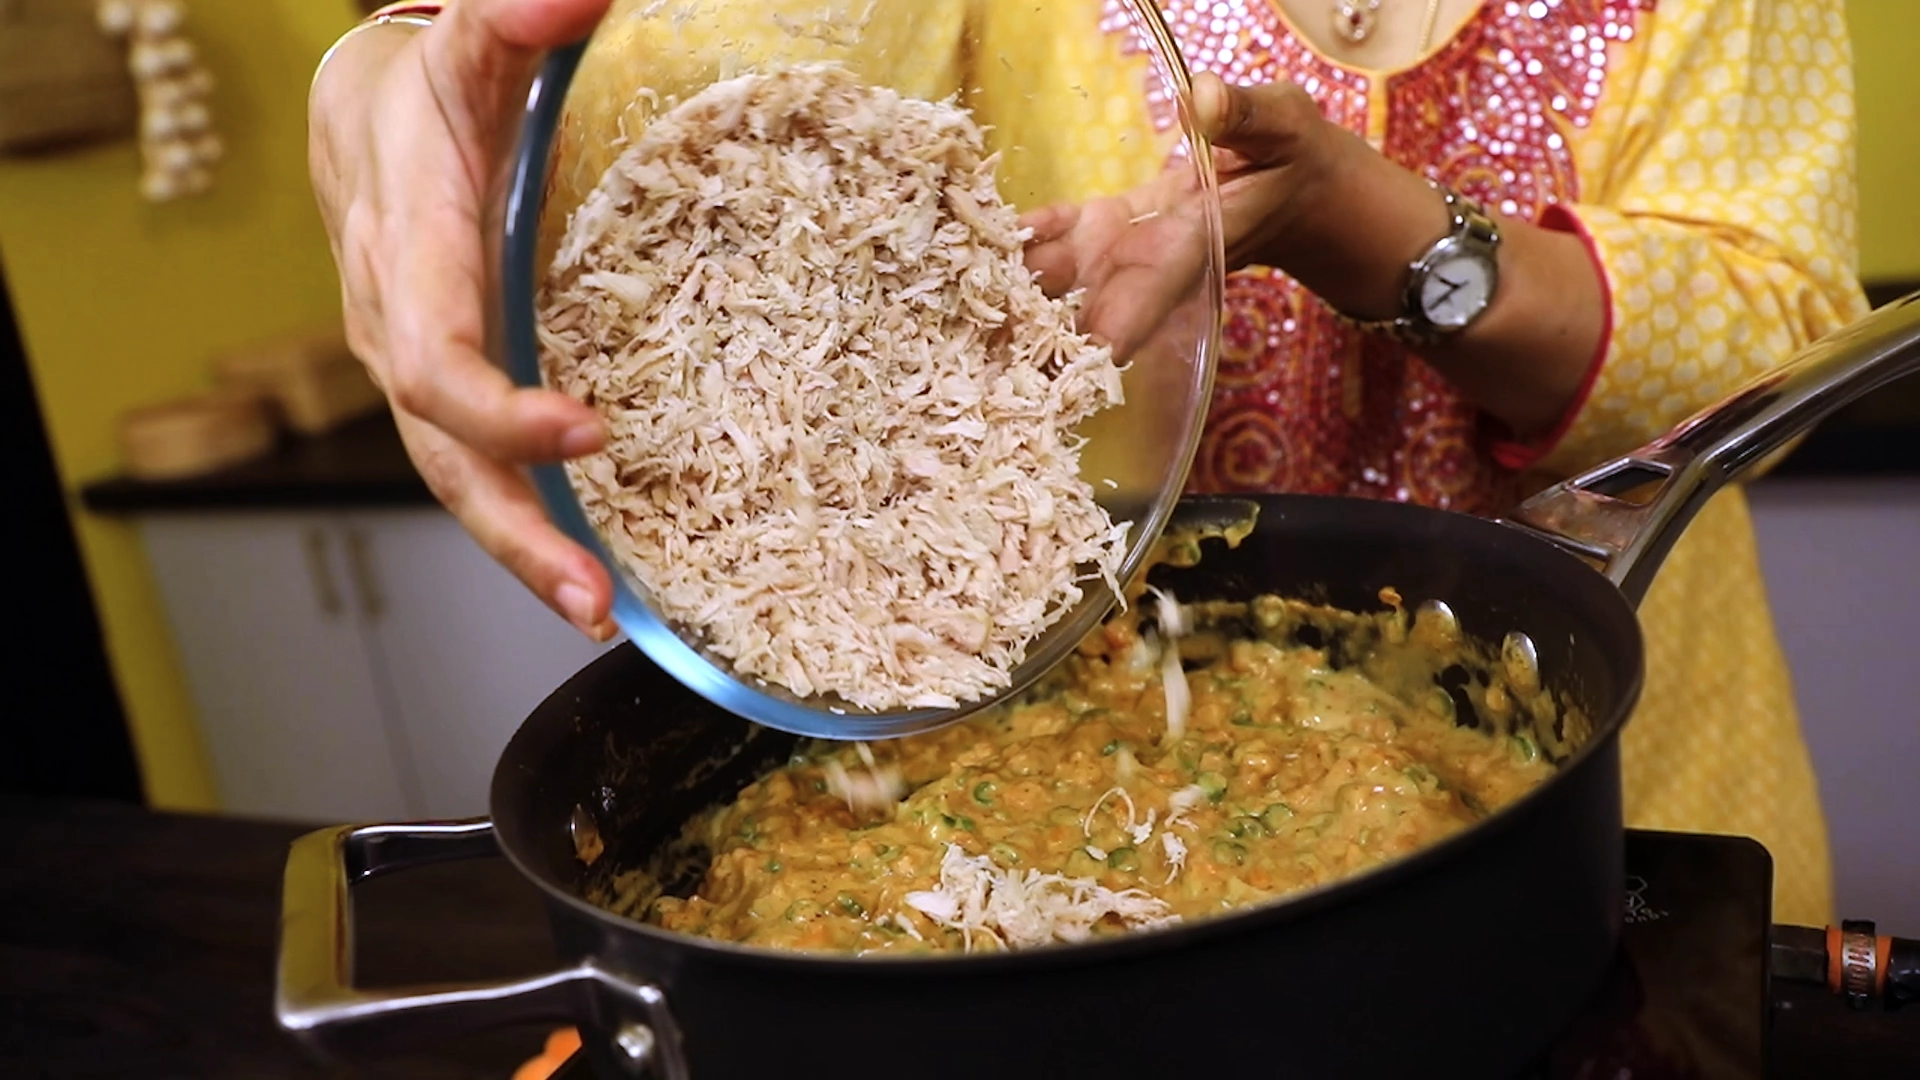
Shred Chicken
Shred the chicken into small bits and set aside.

-
Sauté Base Veggies
Heat butter in a wide pan. Add chopped carrots, beans, green chilies, and spring onion whites. Sauté.
-
Spice Infusion
Pour in the chicken stock and cook the veggies for a few seconds. Add red chili powder, garam masala, and cumin powder. Mix well.

-
Create the Roux
After 2 minutes, add maida and mix thoroughly.
-
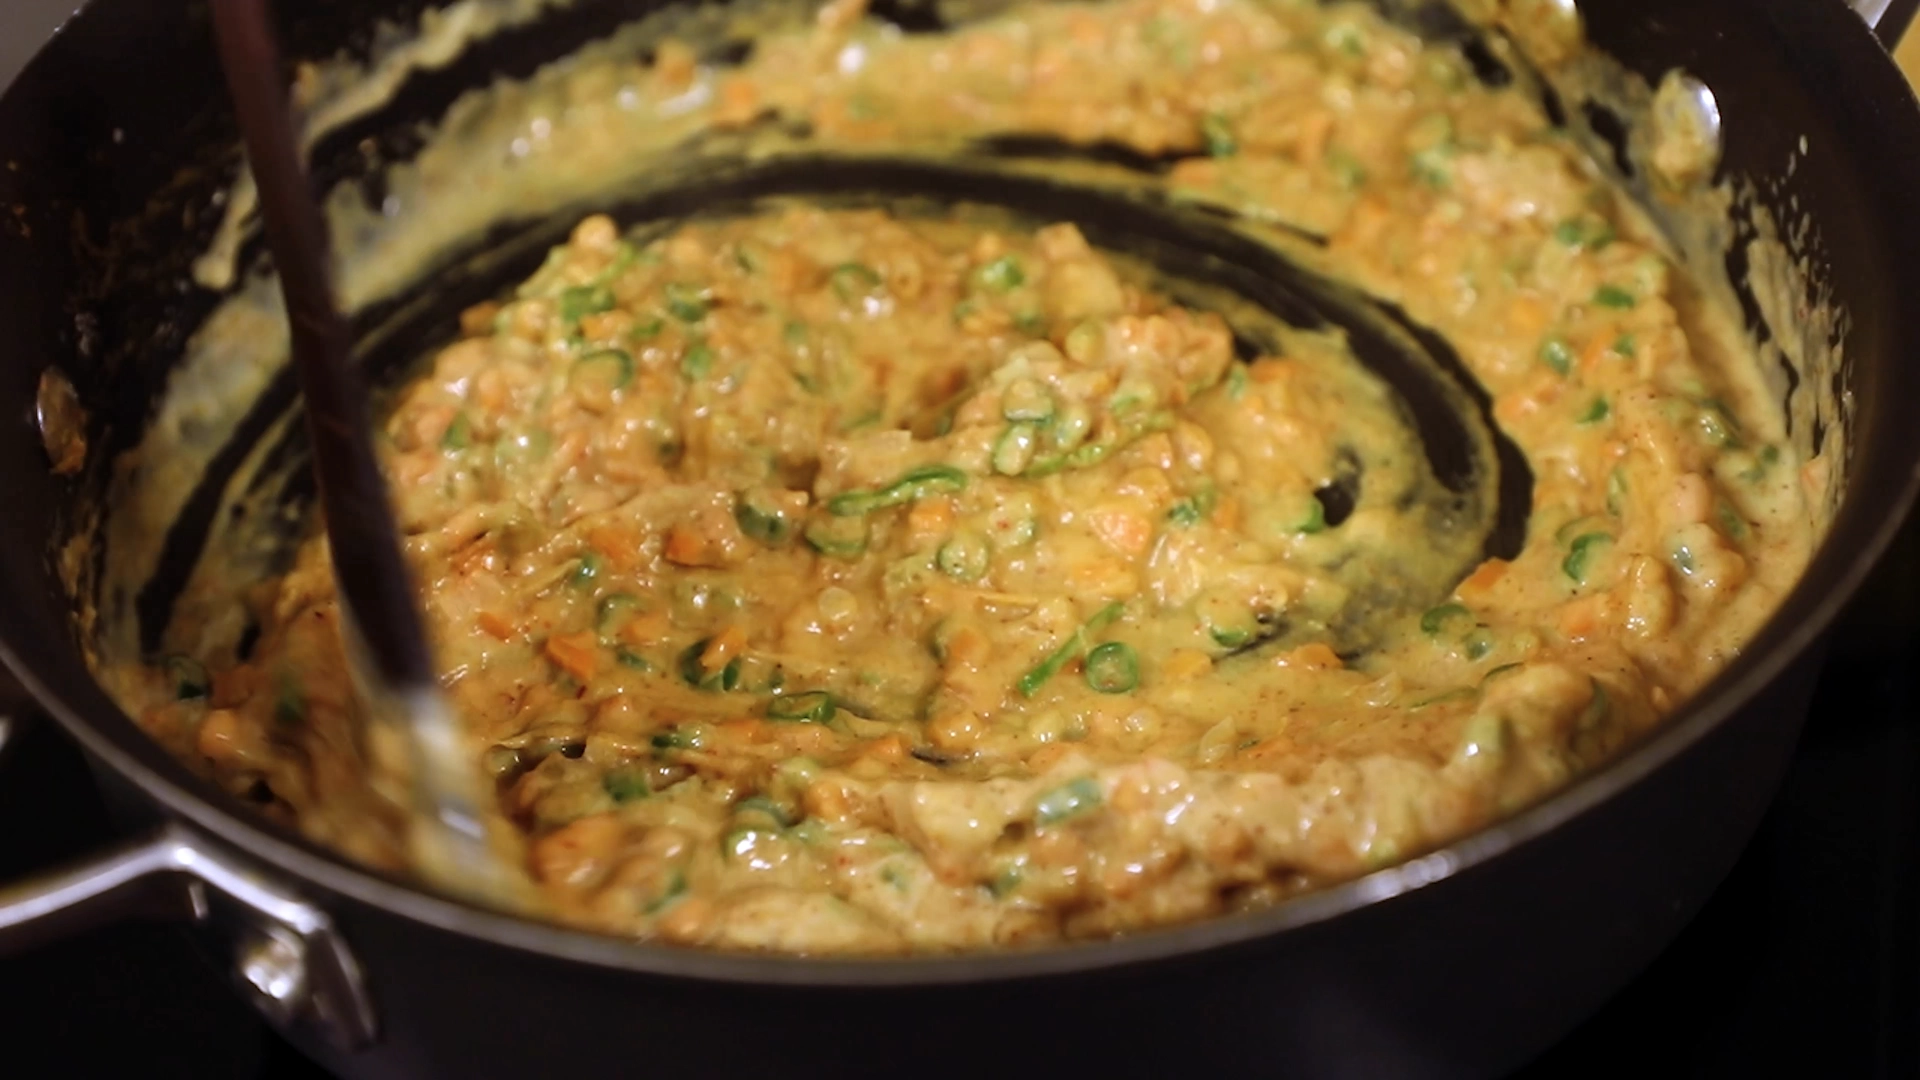
Make It Creamy
Gradually pour in the boiled and cooled milk while stirring.
-
Combine Chicken
Add shredded chicken and cook until the mixture thickens and loses all moisture.
-
Fresh Onion Finish
Add chopped spring onion greens. Adjust salt if needed.
-
Final Thicken
Mix everything well and cook until thick. Transfer to a bowl and let it cool.
-
Shape Patties
Apply some oil to your palms and shape the mixture into even-sized patties. Refrigerate for 10 minutes.
-
Coat Cutlets
Dip each patty in the beaten egg and then coat with bread crumbs.

-
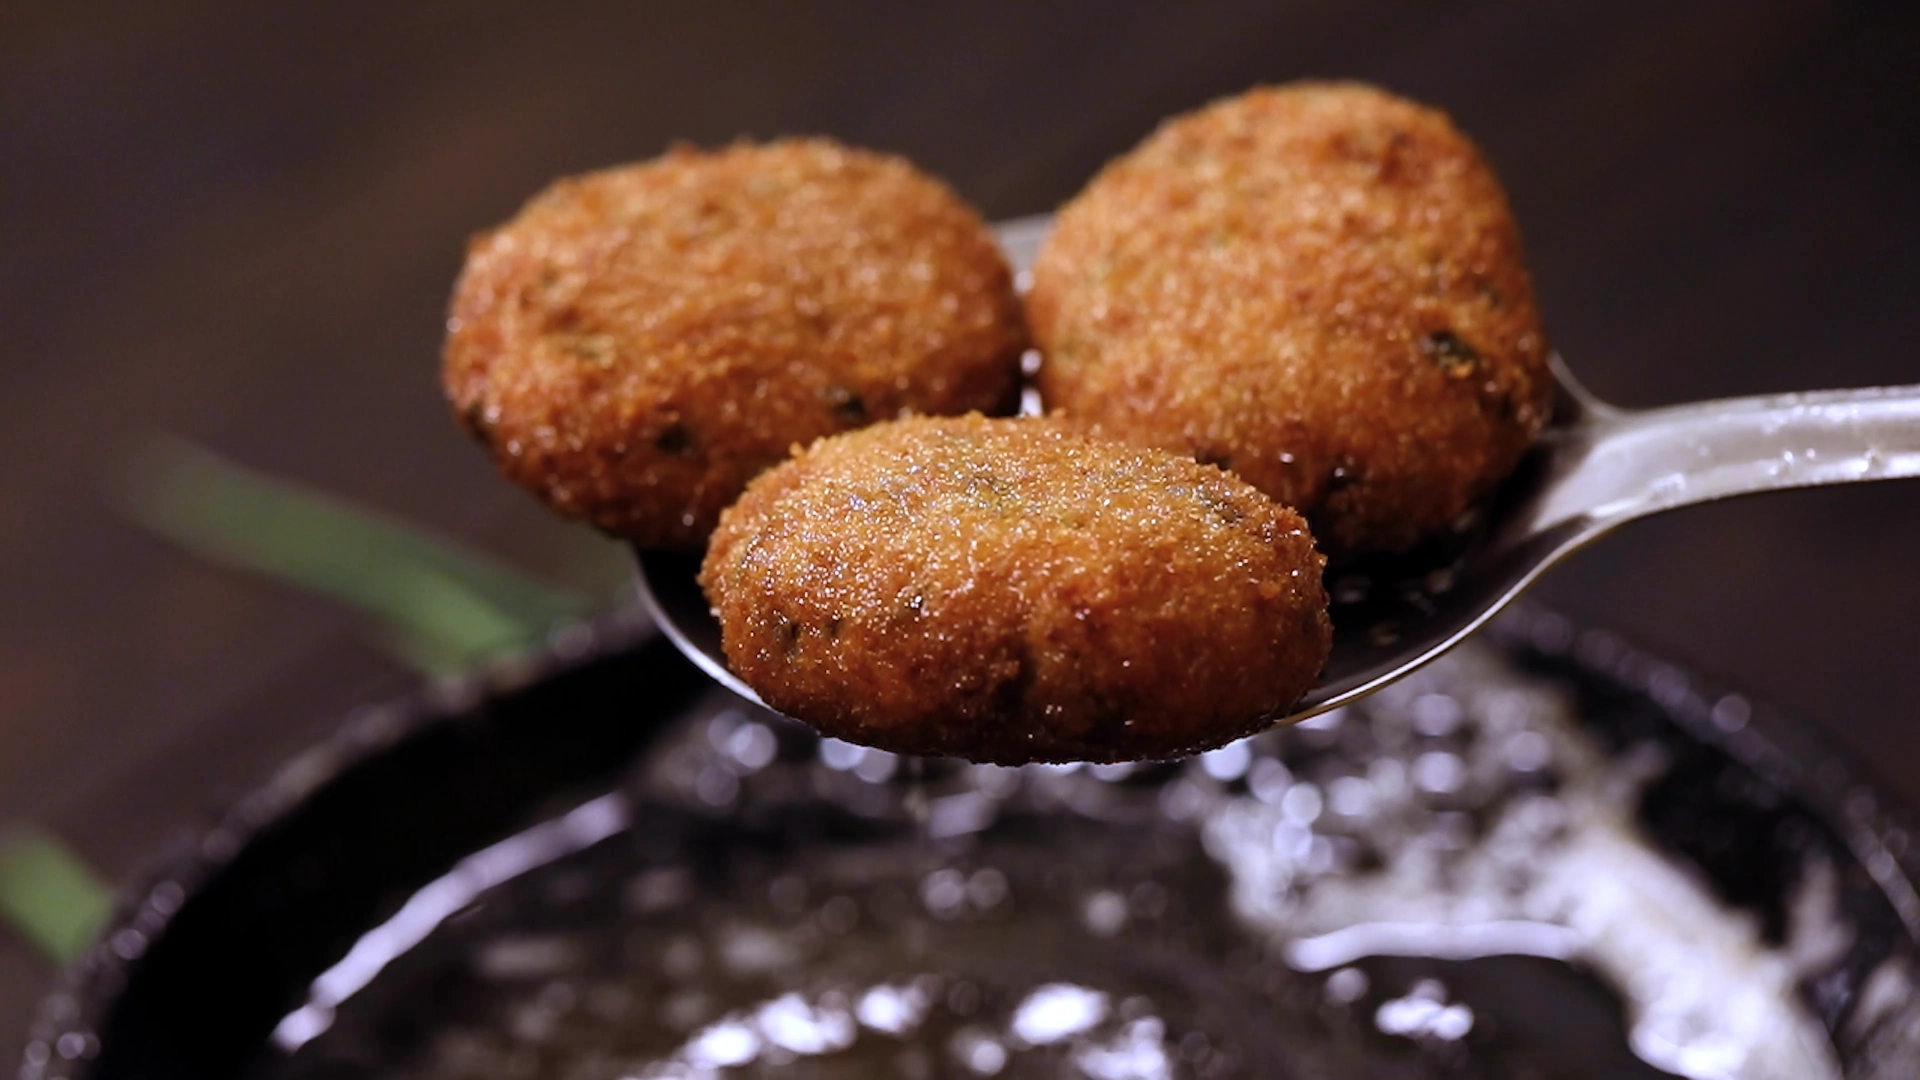
Fry to Golden
Once the oil in a kadai is hot enough, fry the cutlets until golden brown.
-
Serve & Enjoy
Serve hot the Russian chicken cutlets with tomato ketchup or mayonnaise.
Equipment


 5")
Affiliate Disclosure: This post contains Amazon affiliate links, i.e., when you buy any product using the links below, we get commissions. but it doesn’t cost you anything extra. If you do purchase any product using the given links, we thank you in advance!
Nutrition Facts
Servings 6
- Amount Per Serving
- Calories 320kcal
- % Daily Value *
- Total Fat 15g24%
- Saturated Fat 5g25%
- Cholesterol 90mg30%
- Sodium 700mg30%
- Total Carbohydrate 25g9%
- Dietary Fiber 3g12%
- Sugars 5g
- Protein 22g44%
* Percent Daily Values are based on a 2,000 calorie diet. Your daily value may be higher or lower depending on your calorie needs.

Anne I just used the stock from the quarter cup of water that I used to pressure cooker for the half kg chicken
You did not mention chicken stock and it’s amount in the ingredients list.