Ever bite into a perfectly spongy rasgulla and wonder how the sweet shop gets that melt-in-your-mouth texture?
If you want to make restaurant-style Bengali rasgulla at home — without maida, without cornflour, and without complicated tools — you’re in the right place.
I’ll walk you through the why and how — like I’m standing beside you in the kitchen — so you can nail Bengali rasgulla at home.
What you’re making
Rasgulla are soft chenna (fresh paneer) balls cooked in light sugar syrup until they swell and soak up sweetness.
The texture is spongy and springy, the flavor is gentle (cardamom + saffron if you like), and each bite releases a syrupy bliss that’s delicate, floral. It’s dessert comfort that’s refreshing, not cloying — perfect after a heavy meal or as festival prasad.
A little history & cuisine context
Rasgulla (or roshogolla) is a classic of Bengali sweets — an innovation in Indian dairy-based desserts.
Traditionally made from chenna (curdled milk solids), the dessert became synonymous with Kolkata’s sweet shops and festive tables. This no-maida version stays true to the original spirit by using just milk and acid (vinegar) to make chenna that’s kneaded into soft balls.
Why this dish is great
Simple ingredients, big payoff — Milk, jaggery or sugar, a little acid and spice.
Celebratory & shareable — Perfect for festivals, pujas, potlucks or gifting.
No refined flours needed — authentic texture without cornflour or maida.
Make-ahead friendly — they store well in syrup and taste better after a few hours.
Ingredients breakdown
Full-cream milk — richness and structure. Use full-fat milk for the creamiest chenna.
Vinegar (diluted) — gently curdles the milk to form soft chenna; lemon works too but vinegar is more neutral.
Sugar + water (syrup) — cooks the balls and provides that juiciness. Cardamom and saffron add aroma.
Food color(optional) — purely optional, used here only for presentation.
Vegan Swap 🌿: Replace dairy rasgulla with soy milk paneer (homemade tofu-style chenna) — curdle soy milk with lemon, drain well, knead into a soft dough and cook similarly in sugar syrup. Texture will vary but you’ll get a plant-based alternative.
The kitchen conversation: how the process feels
Start by heating full-cream milk till just about boiling. The moment you add acid (vinegar mixed in water) the milk will curdle — that’s what forms your chenna.
You’ll drain and wash it to remove the sharp acidic flavor and squeeze out excess water (don’t over-squeeze — leave it slightly moist). The key is then kneading: it’s where texture is made. Knead the chenna steadily (about 20–30 minutes in the recipe) until it becomes silky and holds together.
When you portion the dough, make smooth, crack-free balls — those cracks trap air and make them dense. Cook them in a gently rolling, flavored sugar syrup (cardamom + saffron if you like).
The syrup should be boiling steady, not violent — and you’ll steam-cook the balls with the lid on for part of the time so they expand uniformly. After cooking, they’ll be soaked, plump, and springy. Let them cool in the syrup — this is when they fully absorb sweetness and develop that classic rasgulla mouthfeel.
Pro Tip 💡: Knead the chenna well until smooth and test by rolling a small piece — if it cracks, knead a bit more and press lightly with your thumb to release tiny air pockets. Smooth, crack-free balls = soft, spongy rasgullas.
https://www.youtube.com/watch?v=mxxbqg8g_lE
What goes along
Warm rabri (reduced milk) poured over for extra indulgence.
Chilled rasgulla with a scoop of vanilla ice cream for an easy fusion dessert.
Serve chilled or at room temperature, in the syrup. Garnish with slivers of pistachio or a few saffron strands for presentation. If you colored portions, keep the colors subtle — the syrup is already beautiful.
Packing & party prep
Make ahead: rasgullas improve after 2–4 hours in syrup — flavor distributes and texture mellows.
Storage: keep submerged in syrup in an airtight container — refrigerate for up to 4–5 days. Bring to room temp before serving, or chill lightly.
Bulk prep: scale milk and syrup linearly. Work in batches for chenna and kneading. Use a large, deep pot so the balls can expand without crowding.
Troubleshooting
Rasgulla turned dense: Knead chenna longer; ensure balls are smooth and crack-free. Keep syrup boiling gently.
Balls fell apart: They may be under-kneaded or too wet — squeeze out a little more whey next time and knead to bind.
Too sweet/weak flavor: Adjust syrup strength next batch; small saffron + cardamom additions go a long way.
Other Related Recipes you might like:-
Mango Shrikhand (Amrakhand) — creamy, strained-yogurt dessert flavored with ripe mango — a cool, fruity sweet.
Rice Kheer — classic milk-and-rice pudding scented with cardamom and nuts.
Makhana Kheer — delicate milk kheer made with roasted makhana (fox nuts) — light and festive.
Creamy Mango Kheer — rich mango-flavored kheer for a tropical twist on traditional puddings.
Rava Kesari — semolina-based sweet flavored with saffron and ghee — soft and aromatic.
Learn how to make soft, juicy Bengali rasgullas at home! Made with fresh chena and soaked in fragrant cardamom-saffron syrup, these milk sweets are easy, no-flour, and perfect for any occasion.
Ingredients
2litre full cream milk (for making chena)
1bowl water (for mixing with vinegar)
3tbsp vinegar (for curdling milk)
pinch saffron (for syrup)
1 3/4cup sugar (for syrup)
4cups water (for syrup)
2cardamom pods (slightly crushed)
pink food colour (optional)
yellow food colour (optional)
green food colour (optional)
Instructions
Prep Work
1
Set up cloth and strainer
Line a strainer with a clean muslin and keep it ready to strain curdled milk
2
Make vinegar solutionMix vinegar into a small bowl of water and keep aside
3
Ready the milk panHave a heavy-bottomed pan or saucepan ready for heating the milk
4
Prepare colour bowlsPut small bowls out for each food colour you plan to use
5
Crush cardamom & saffronLightly crush cardamom pods and keep saffron ready to add to syrup
6
Measure sugar and waterKeep sugar and water for the syrup measured and within reach
Method
7
Heat milk
Take the milk in a saucepan and heat it until it reaches a gentle boil
8
Prepare curdling mixAdd vinegar to water and mix well to make the curdling solution
9
Curdle milkOnce the milk comes to a boil, gradually add the vinegar-water mixture to curdle the milk
10
Strain chenaStrain the curdled milk through the muslin, wash the chena well with water and do not squeeze out too much.
11
Rest chenaLet the wrapped chena sit in the cloth for 1 hour. Let excess water drip by itself.
12
Knead chenaAfter resting, knead the chena well for 30 minutes until it becomes soft and smooth (don’t squeeze too much, it makes the rasagulla dry and crumbly)
13
Divide & colourDivide the kneaded chena into four portions and mix in the desired gel colours
14
Shape ballsGently roll the coloured dough into smooth balls and keep them aside
15
Make syrupIn a pot, combine sugar and water and heat until the sugar dissolves completely
16
Add flavourAdd crushed cardamom and saffron to the syrup and bring it to a boil
17
Add chena ballsReduce the heat to moderate and gently add the chena balls into the syrup
18
First cookCover the pot and cook the chena balls in the syrup for 5 minutes.
19
Flip & continueOpen the lid, gently flip the balls to the other side, cover again and continue cooking for 10 minutes.
20
Cool downAfter cooking, turn off the heat and let the rasgullas cool in the syrup
21
ServeOnce cooled, the rasgullas are ready to serve.
Nutrition Facts
Servings 15
Amount Per Serving
Calories130kcal
% Daily Value *
Total Fat3.5g6%
Cholesterol12mg4%
Sodium40mg2%
Potassium120mg4%
Total Carbohydrate22g8%
Sugars18g
Protein3.5g8%
Vitamin A 50 IU
Calcium 120 mg
Iron 0.3 mg
Vitamin B12 0.4 mcg
Phosphorus 80 mg
Magnesium 12 mg
* Percent Daily Values are based on a 2,000 calorie diet. Your daily value may be higher or lower depending on your calorie needs.
Pin this recipe to share with your friends and followers.
Hema Subramanian
Food and Lifestyle Blogger
I love to cook! And through Home Cooking Show, I hope to make cooking fun, easy, and approachable for everyone.
My way of sharing recipes is all about keeping it simple and delicious—no complicated steps, no fancy ingredients, just real home-cooked food that anyone can make. Cooking should be a joy, not a chore! Whether you’re a beginner or a seasoned cook, you’ll find something here to inspire you. If you love good food made with love, then you’re in the right place!

 Mix vinegar into a small bowl of water and keep aside
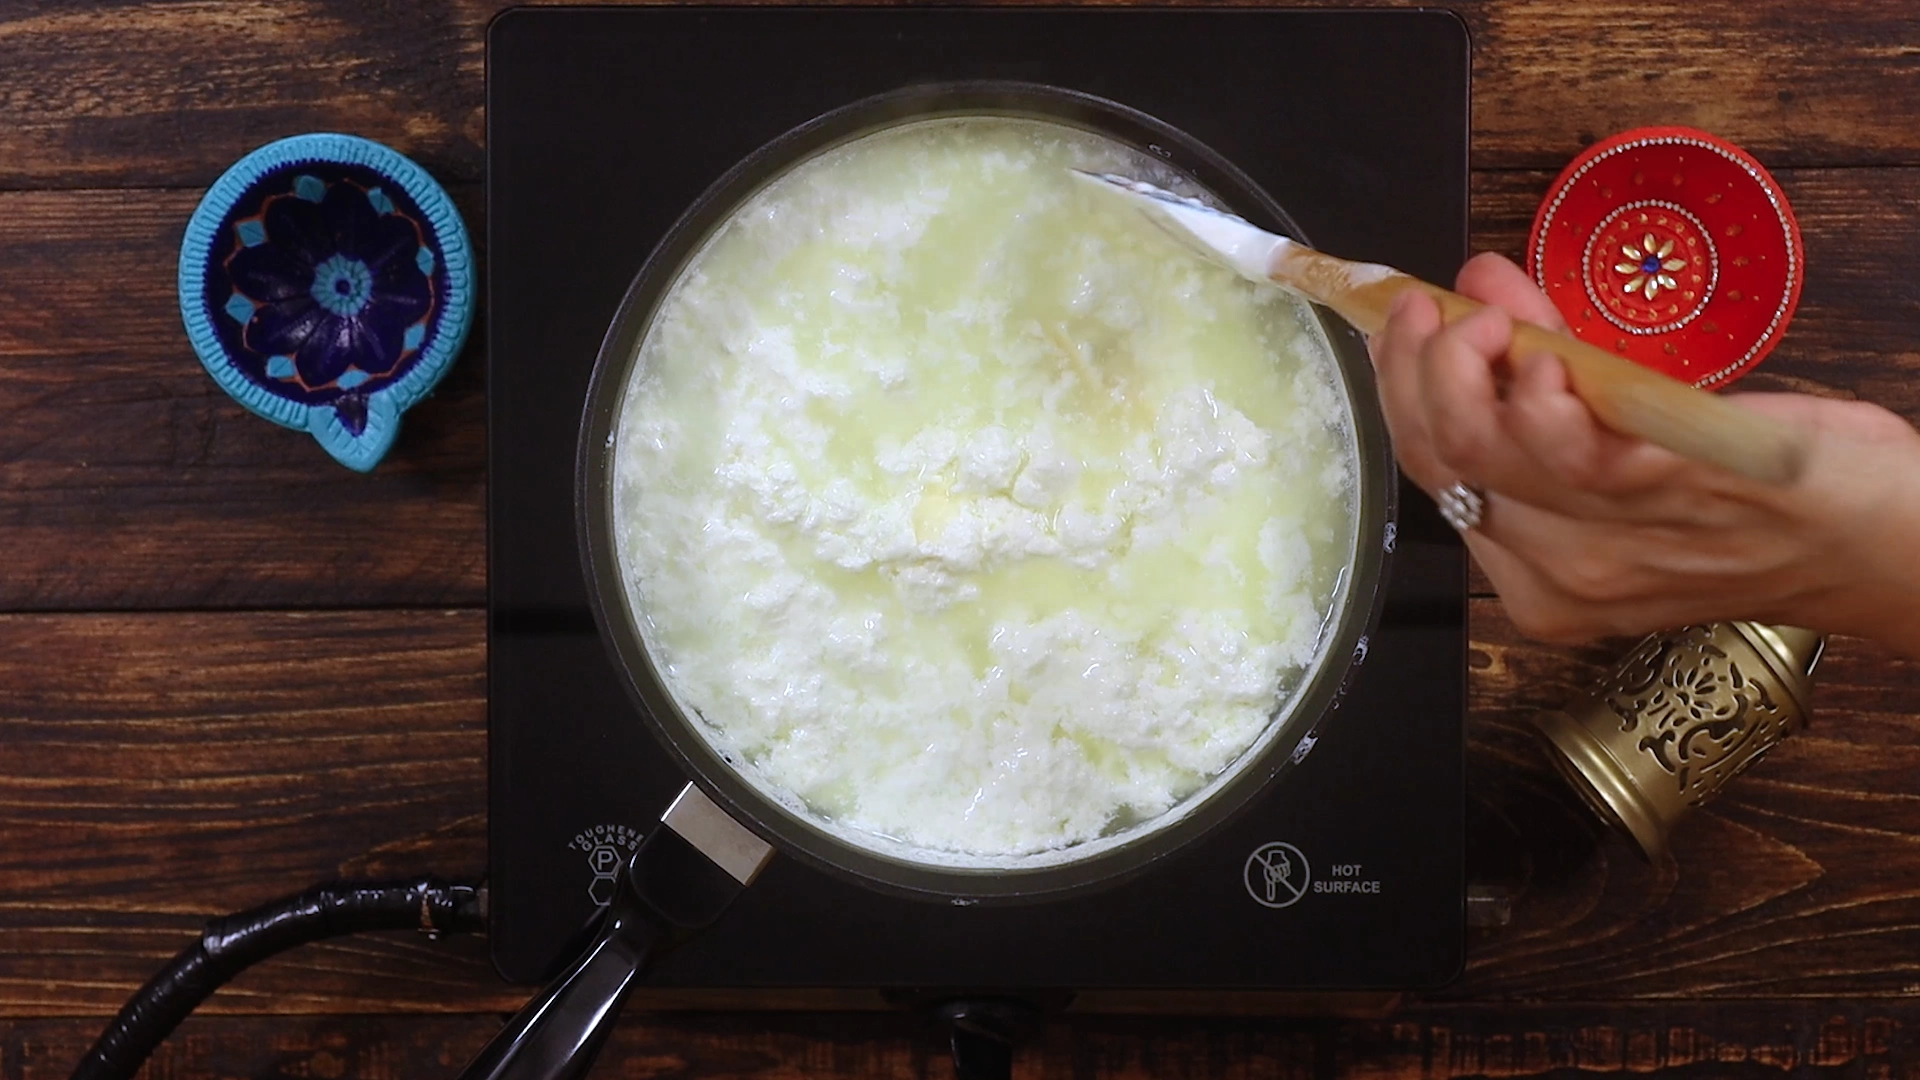 Add vinegar to water and mix well to make the curdling solution
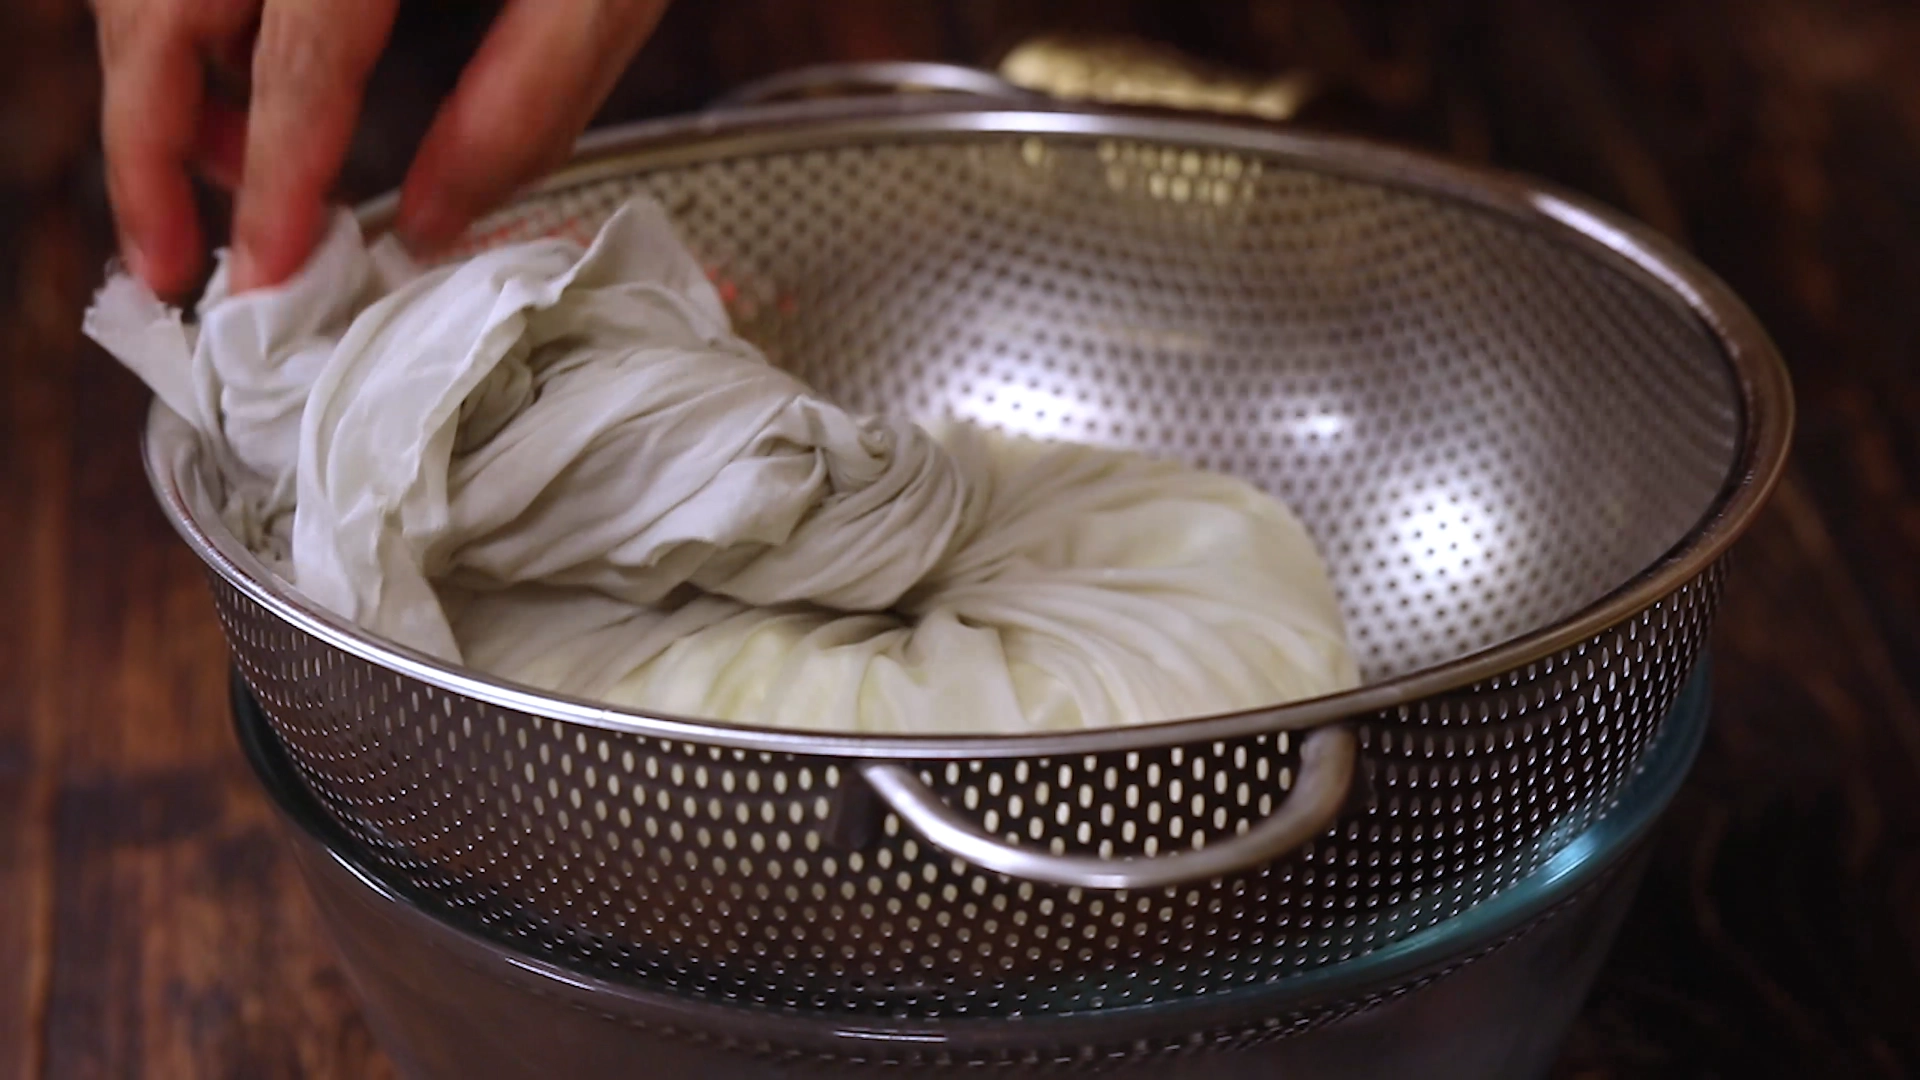 Let the wrapped chena sit in the cloth for 1 hour. Let excess water drip by itself.
 After resting, knead the chena well for 30 minutes until it becomes soft and smooth (don’t squeeze too much, it makes the rasagulla dry and crumbly)
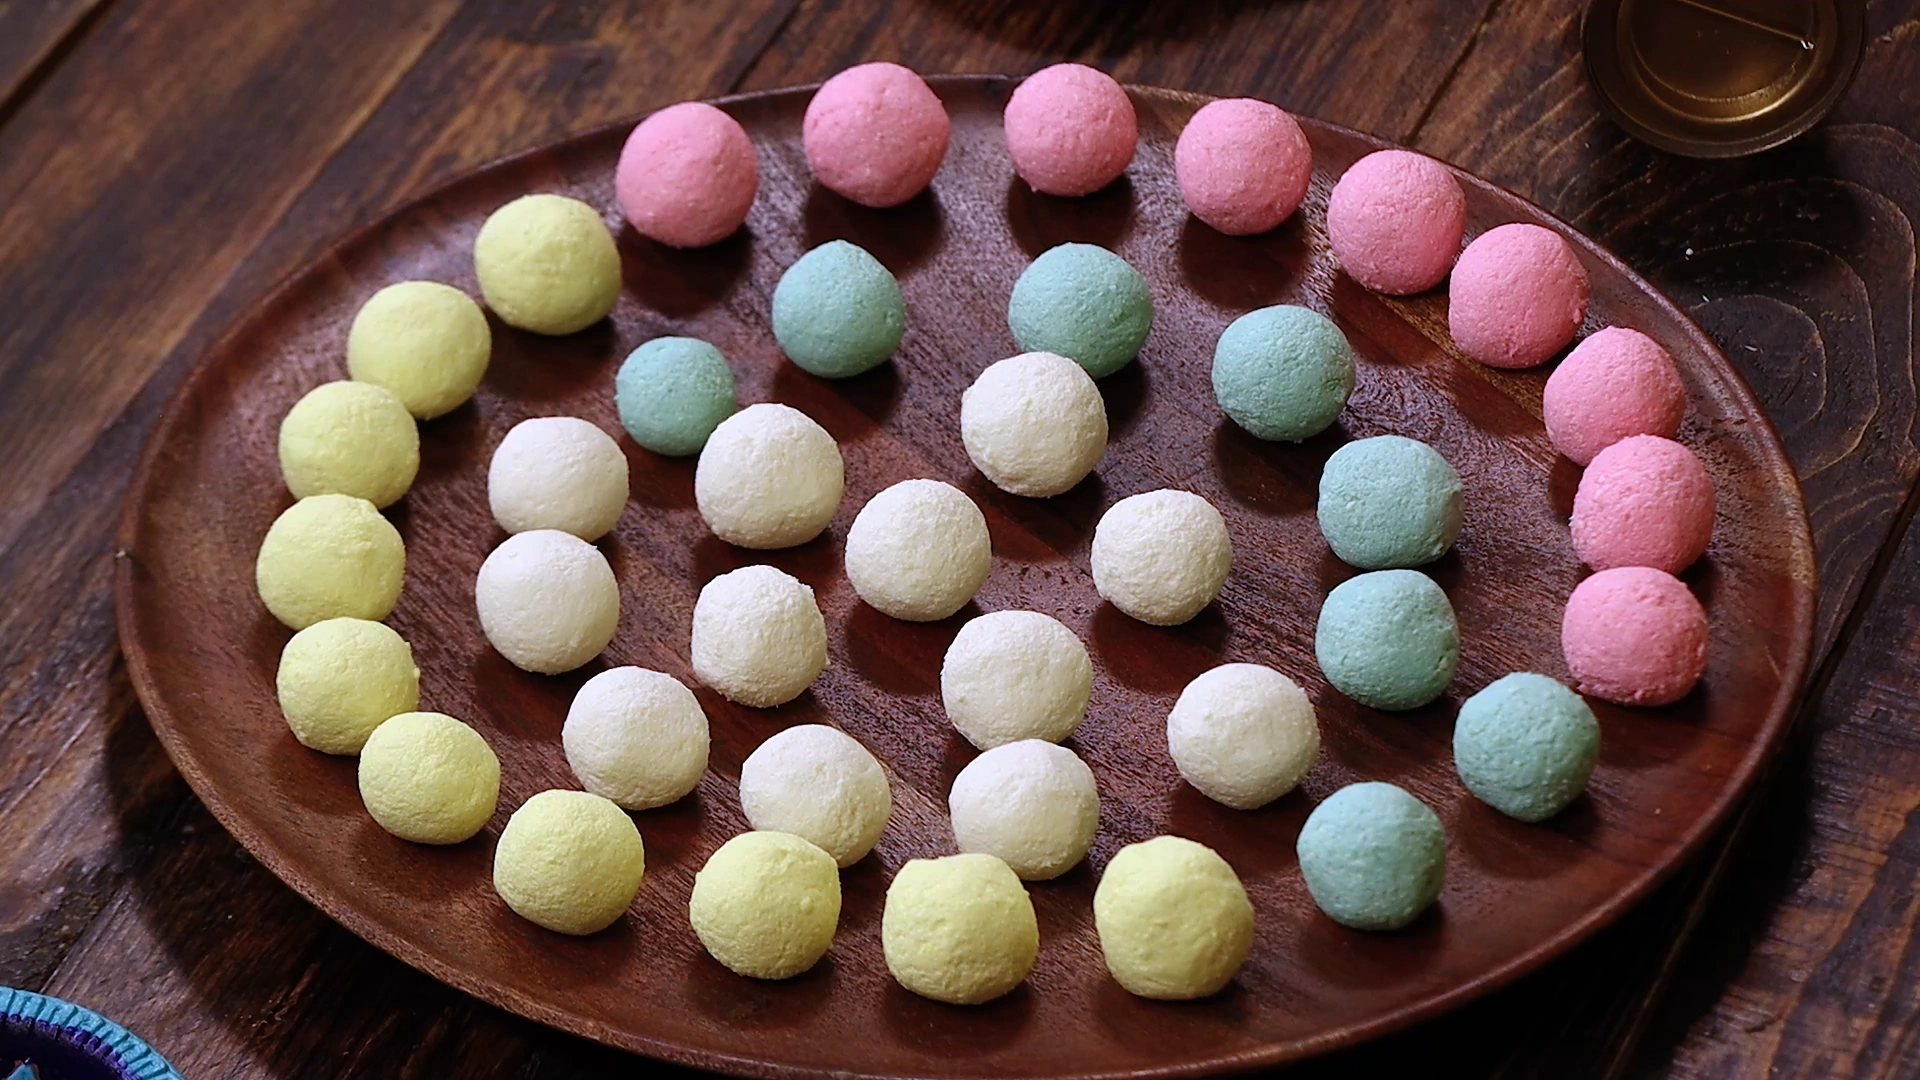 Gently roll the coloured dough into smooth balls and keep them aside
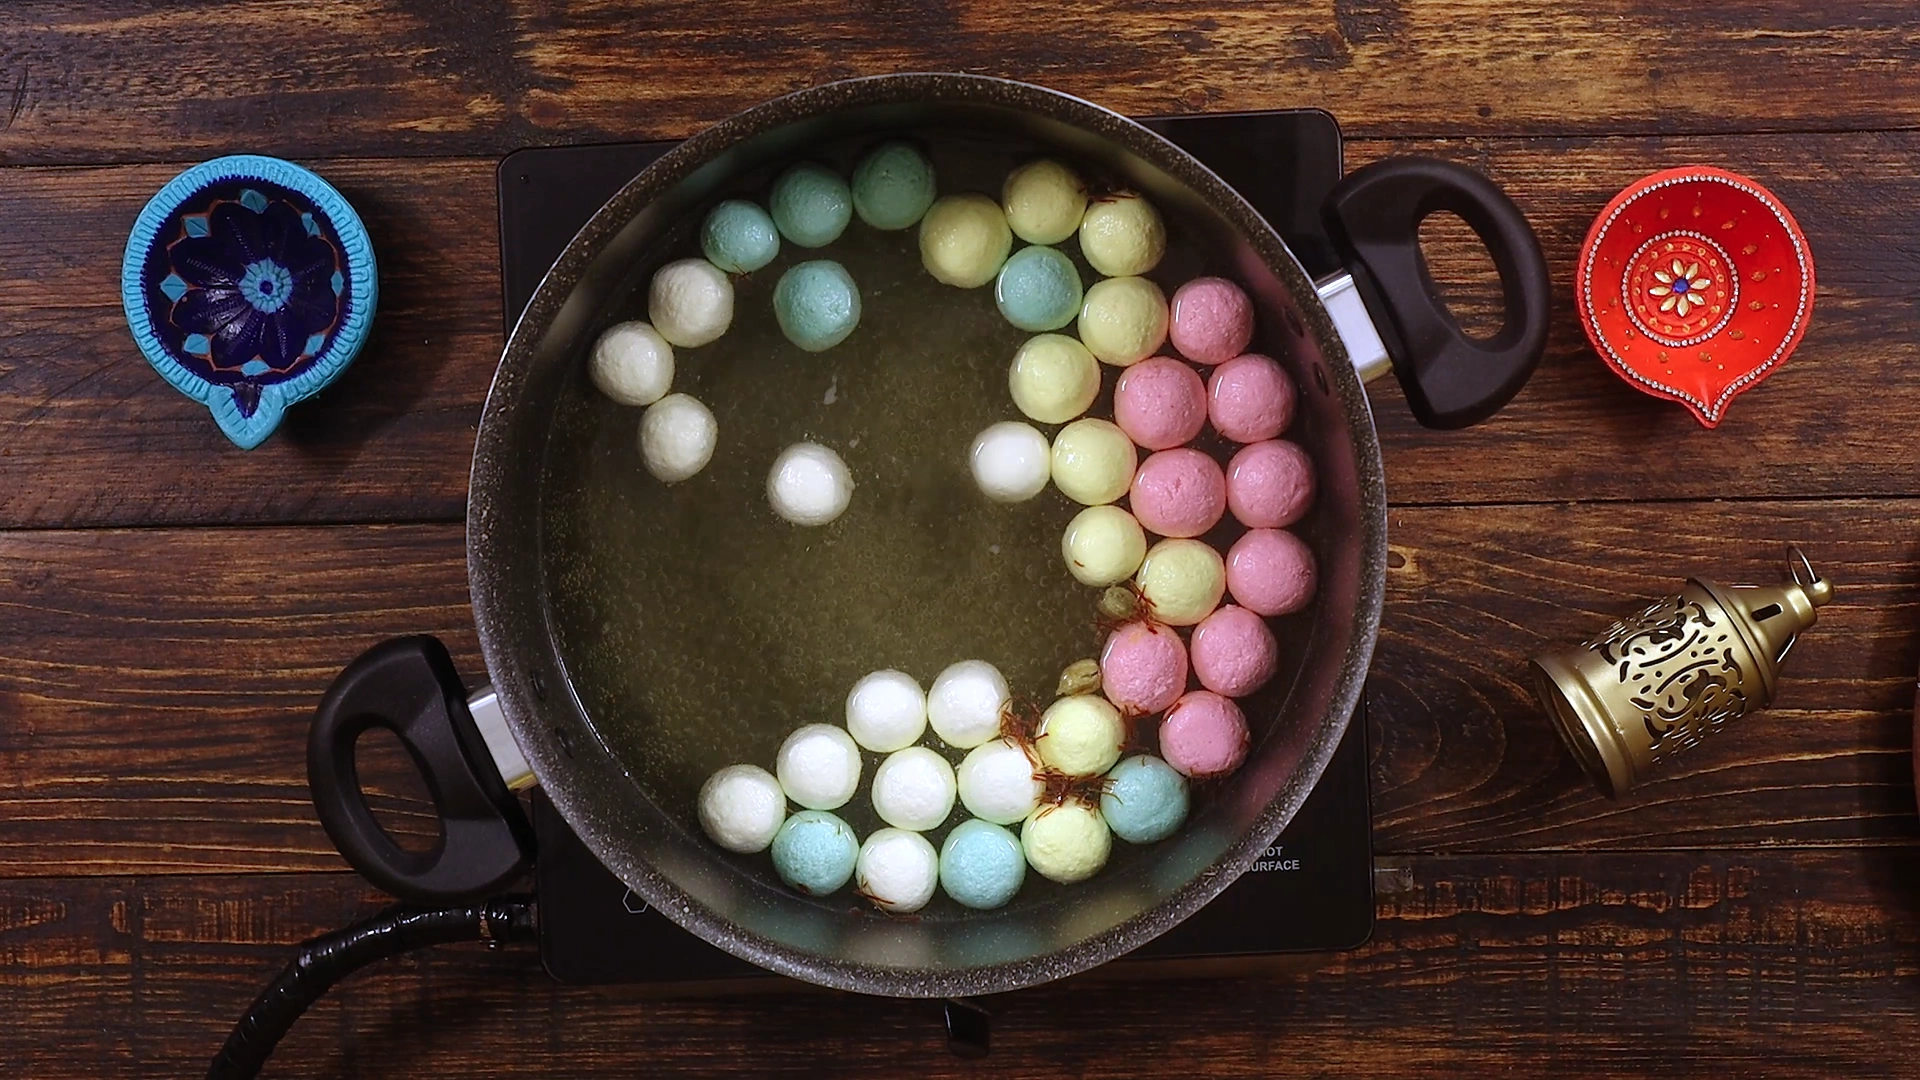 Reduce the heat to moderate and gently add the chena balls into the syrup
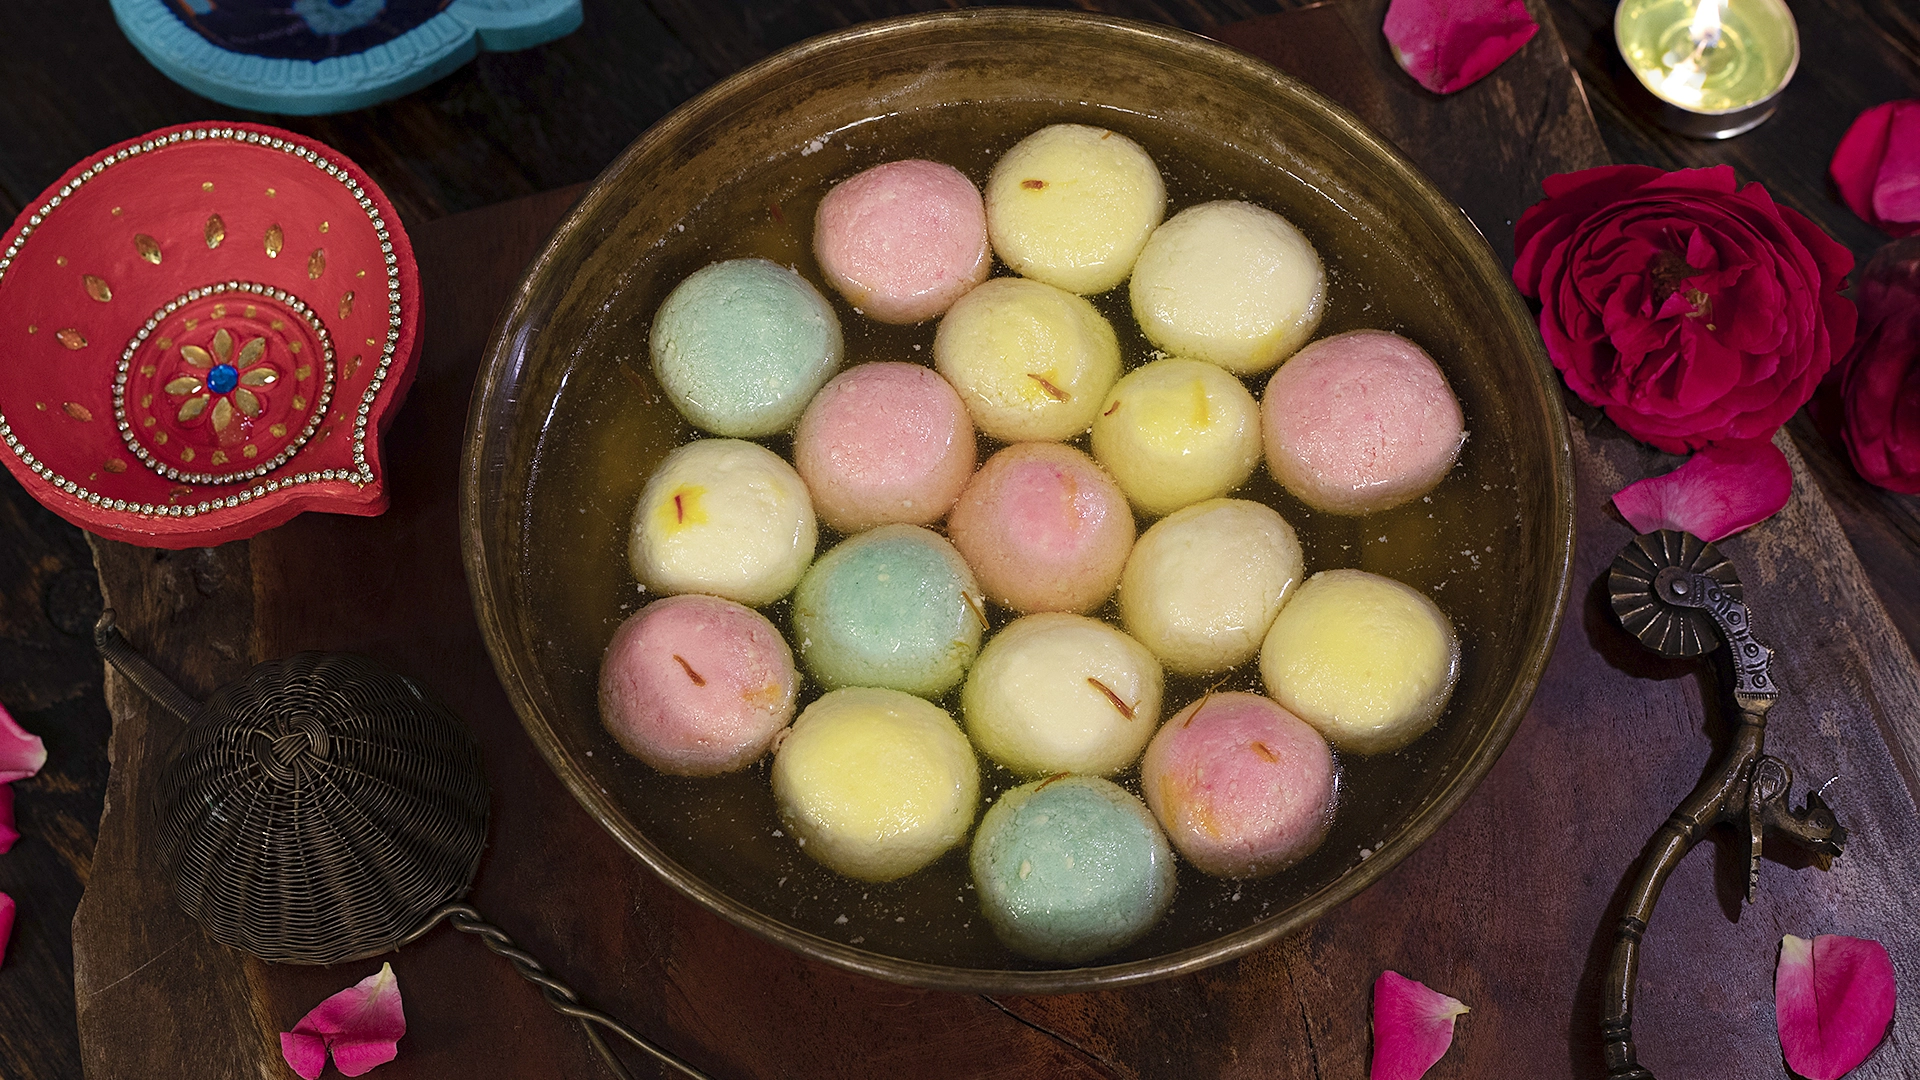 Once cooled, the rasgullas are ready to serve.