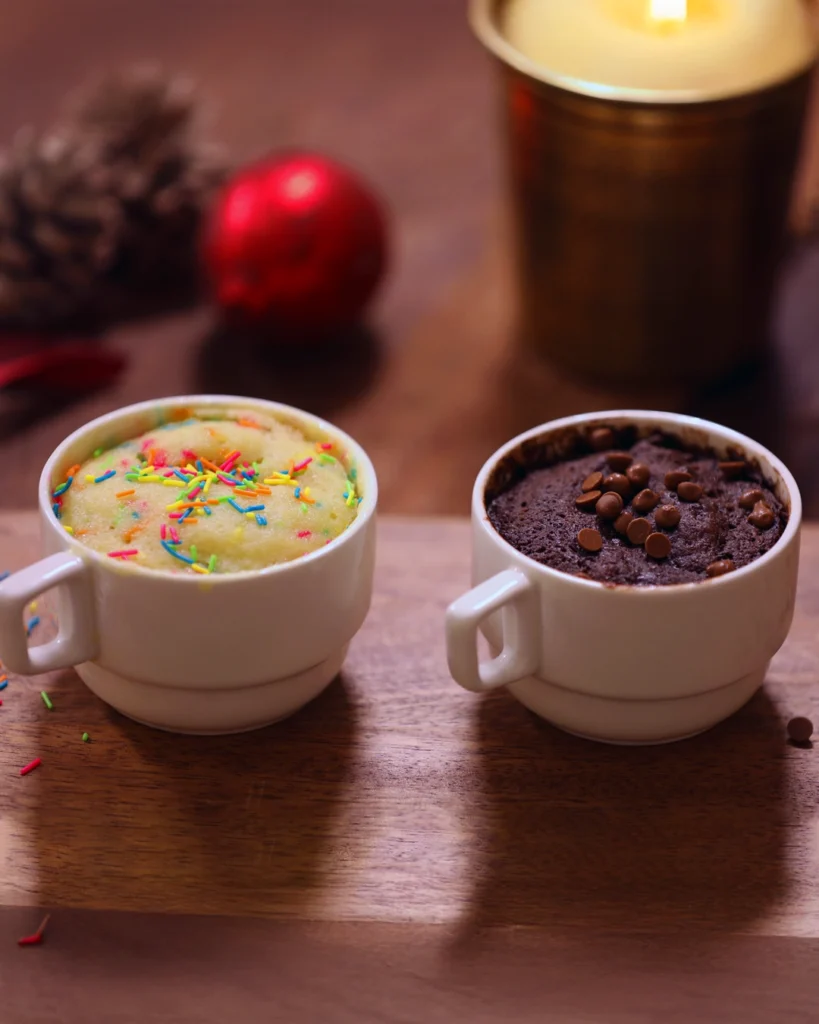
Sometimes, all you need is a warm, comforting dessert to lift your mood—whether it's celebrating a small win, unwinding after a long day, or simply indulging in a midnight craving. And what could be better than a rich, chocolatey mug cake or a soft, vanilla delight that’s ready in just minutes?
Mug cakes are the ultimate instant gratification—fluffy, moist, and packed with flavor, all without the long wait of traditional baking. The best part? These are completely eggless, making them light yet perfectly structured.
While eggs often add richness to cakes, they can make mug cakes dense and custardy, sometimes leaving an overpowering eggy taste. Instead, a clever balance of flour, milk, and butter does all the magic here—binding the ingredients together while keeping the texture soft and spongy.
The Magic Behind Each Ingredient
Every ingredient plays an essential role in making these mug cakes foolproof.
- All-purpose flour (maida) forms the base, giving structure to the cake.
- Baking powder acts as the leavening agent, making sure your cake rises beautifully inside the mug. B
- Granulated sugar sweetens the cake and helps create a soft texture.
- Cocoa powder (for chocolate cake) brings in deep, rich chocolate flavors.
- Melted butter adds richness making the cake ultra-moist.
- Milk helps bind the ingredients, ensuring a smooth batter.
- Vanilla essence enhances the flavors, whether it’s in a chocolate or vanilla cake.
- Chocolate chips melt into little gooey pockets of deliciousness inside the chocolate mug cake.
- Sprinkles (for vanilla cake) add a fun, colorful twist!
How It All Comes Together
Making a mug cake is as simple as mixing, microwaving, and devouring. Start by taking your favorite microwave-safe mug and adding the dry ingredients—flour, sugar, baking powder (and cocoa powder for the chocolate version).
Stir them well before adding the wet ingredients—melted butter, milk, and vanilla essence. Give everything a good mix until you have a smooth batter. If you’re making the chocolate version, toss in some chocolate chips for extra indulgence.
💡 Pro Tip: Be careful not to overfill the mug! Fill it only halfway to give the cake enough room to rise properly. Otherwise, it may overflow while cooking, creating a mess in your microwave.
Now comes the fun part—microwaving! Just pop the mug into the microwave and cook on high for about 1 minute and 20 seconds. Watch as the cake rises beautifully, filling your kitchen with an irresistible aroma.
💡 Pro Tip: You might think adding more baking powder will make the cake fluffier, but too much can actually cause it to rise too high and then collapse, resulting in a dense, chewy texture. Stick to the exact amount for the best results!
https://www.youtube.com/watch?v=Ekn_C3ee4tM
How to Serve & Enjoy
Here’s the golden rule of mug cakes:
Eat immediately! Unlike a full-sized cake that needs time to cool, mug cakes are best enjoyed straight out of the microwave while they’re still warm and soft. After just 10 minutes, they start to lose their delicate texture, turning dense and dry.
For the ultimate treat, top your mug cake with a scoop of ice cream, drizzle with caramel or chocolate sauce, and sprinkle some nuts for crunch. If you’re feeling extra indulgent, a dollop of whipped cream will take it to the next level.
Whether it’s a cozy evening at home, a quick dessert fix after dinner, or a fun baking activity with kids, these mug cakes are the perfect way to satisfy your sweet tooth in minutes. No fancy equipment, no long wait—just instant happiness in a mug!
But what if you can’t eat it immediately or
want to make a big batch for a party? While mug cakes are best enjoyed fresh and warm, there are ways to prepare multiple servings at once or even store them for later—without losing that soft, gooey texture.
For a Party – Making Multiple Mug Cakes at Once
Prepare the batter in a large bowl – Instead of mixing each mug separately, whisk together a big batch of the ingredients in one bowl. This ensures even consistency and saves time.
Fill multiple mugs – Pour the batter into mugs, filling each only halfway to prevent overflowing while cooking.
Microwave in small batches – Don't microwave too many mugs at once—2 to 3 at a time is best. Microwaves heat unevenly, so doing too many at once can lead to inconsistent textures.
Adjust cooking time – Since microwaving multiple mugs at once reduces efficiency, start with 1 minute and 30 seconds on high and then check. If needed, heat in 10-second bursts until done.
Serve immediately – Mug cakes taste best fresh, so encourage guests to grab them while they’re warm. Set up a toppings bar with ice cream, whipped cream, and sauces for a fun DIY dessert station!
💡 Pro Tip: If you need to keep them warm for a bit, cover the tops with a clean kitchen towel to retain moisture before serving.
For Storing & Eating Later
If you want to make mug cakes in advance and eat them later, follow these steps
- Microwave as usual – Cook the mug cakes one at a time as per the recipe.
- Let them cool completely – This prevents condensation, which can make the cake soggy.
- Cover and refrigerate – Wrap the mug in plastic wrap or place it in an airtight container. Store for up to 2 days in the fridge.
- Reheat before eating – Microwave the stored mug cake for 10-15 seconds to restore its softness.
Enjoy cold! – Chocolate mug cakes actually taste great chilled, almost
like a fudgy brownie. Top with ice cream or drizzle with chocolate sauce for a delicious cold treat.
💡 Pro Tip: If you’re making mug cakes in advance, slightly undercook them (by 5-10 seconds). This keeps them soft and prevents them from drying out when reheated.
So, whether you’re serving a crowd or prepping ahead for a sweet craving later, your mug cakes will turn out just right! 😊

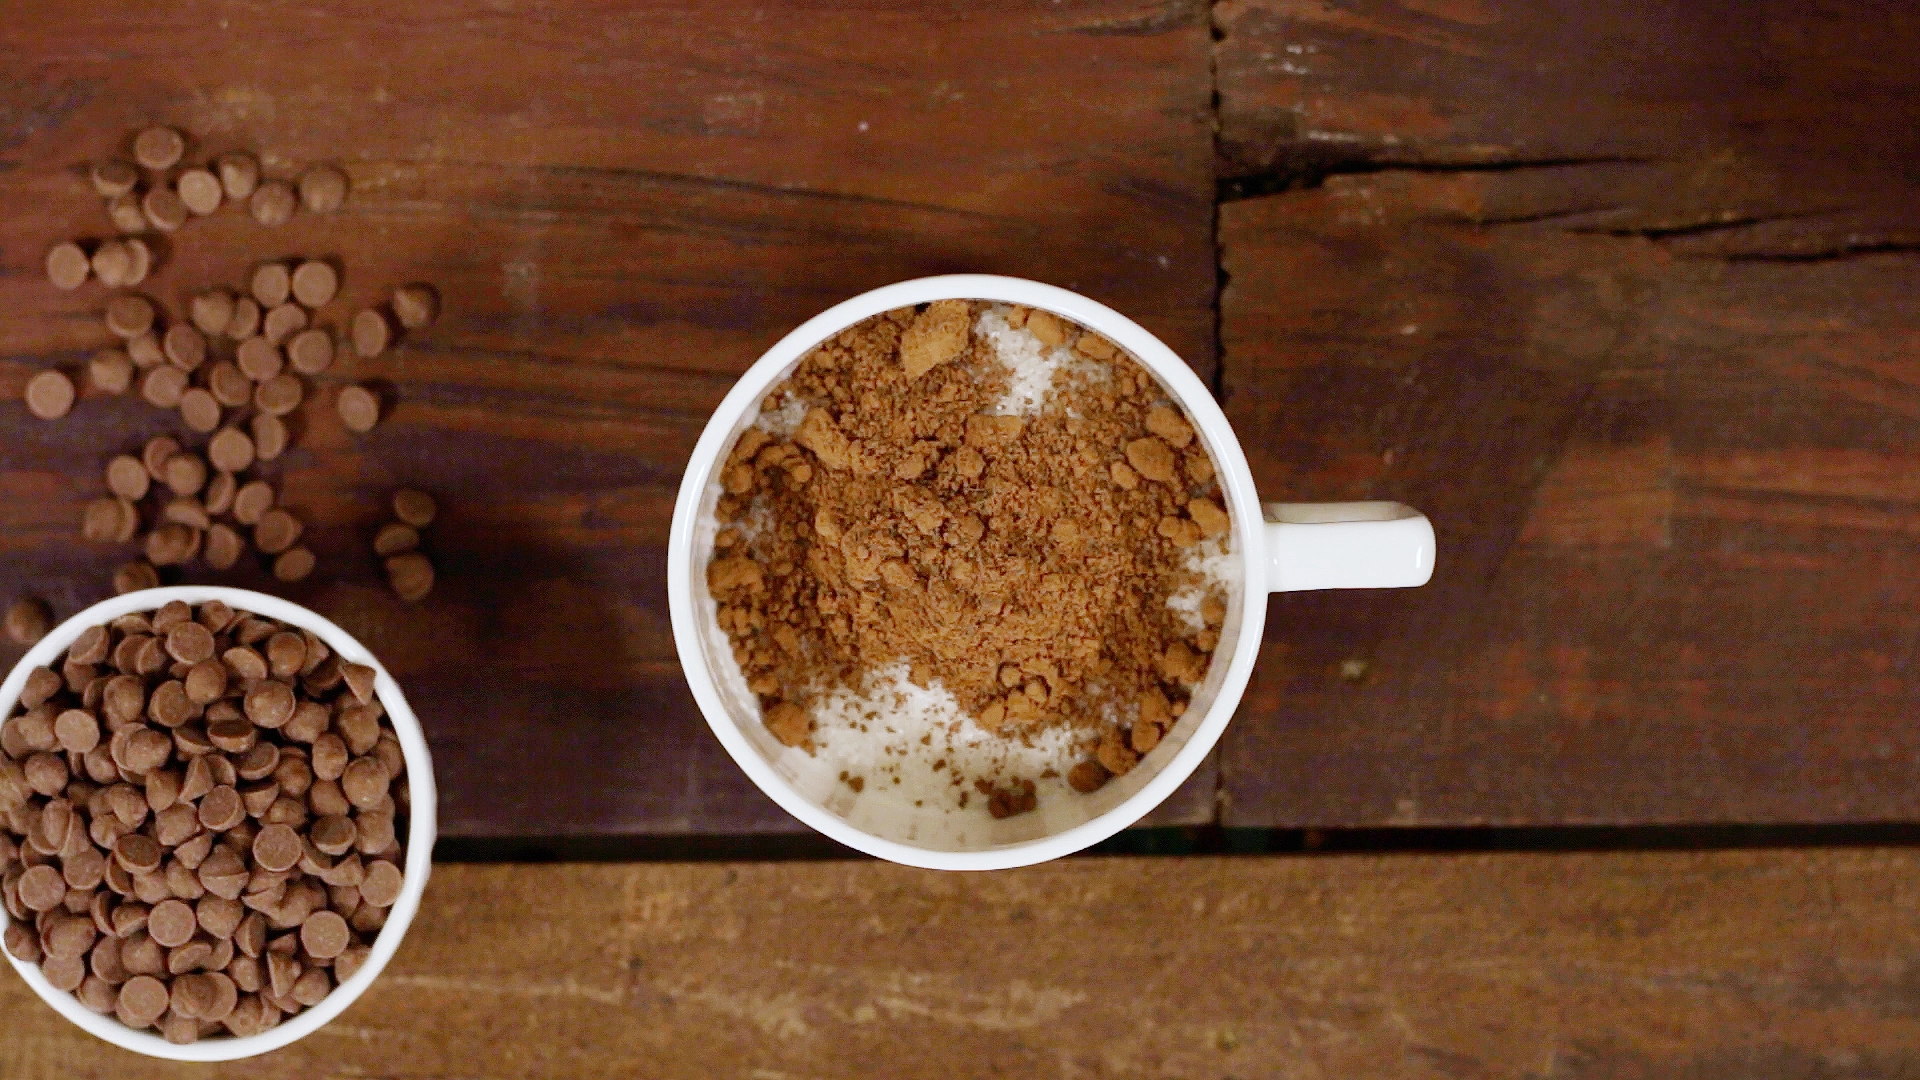
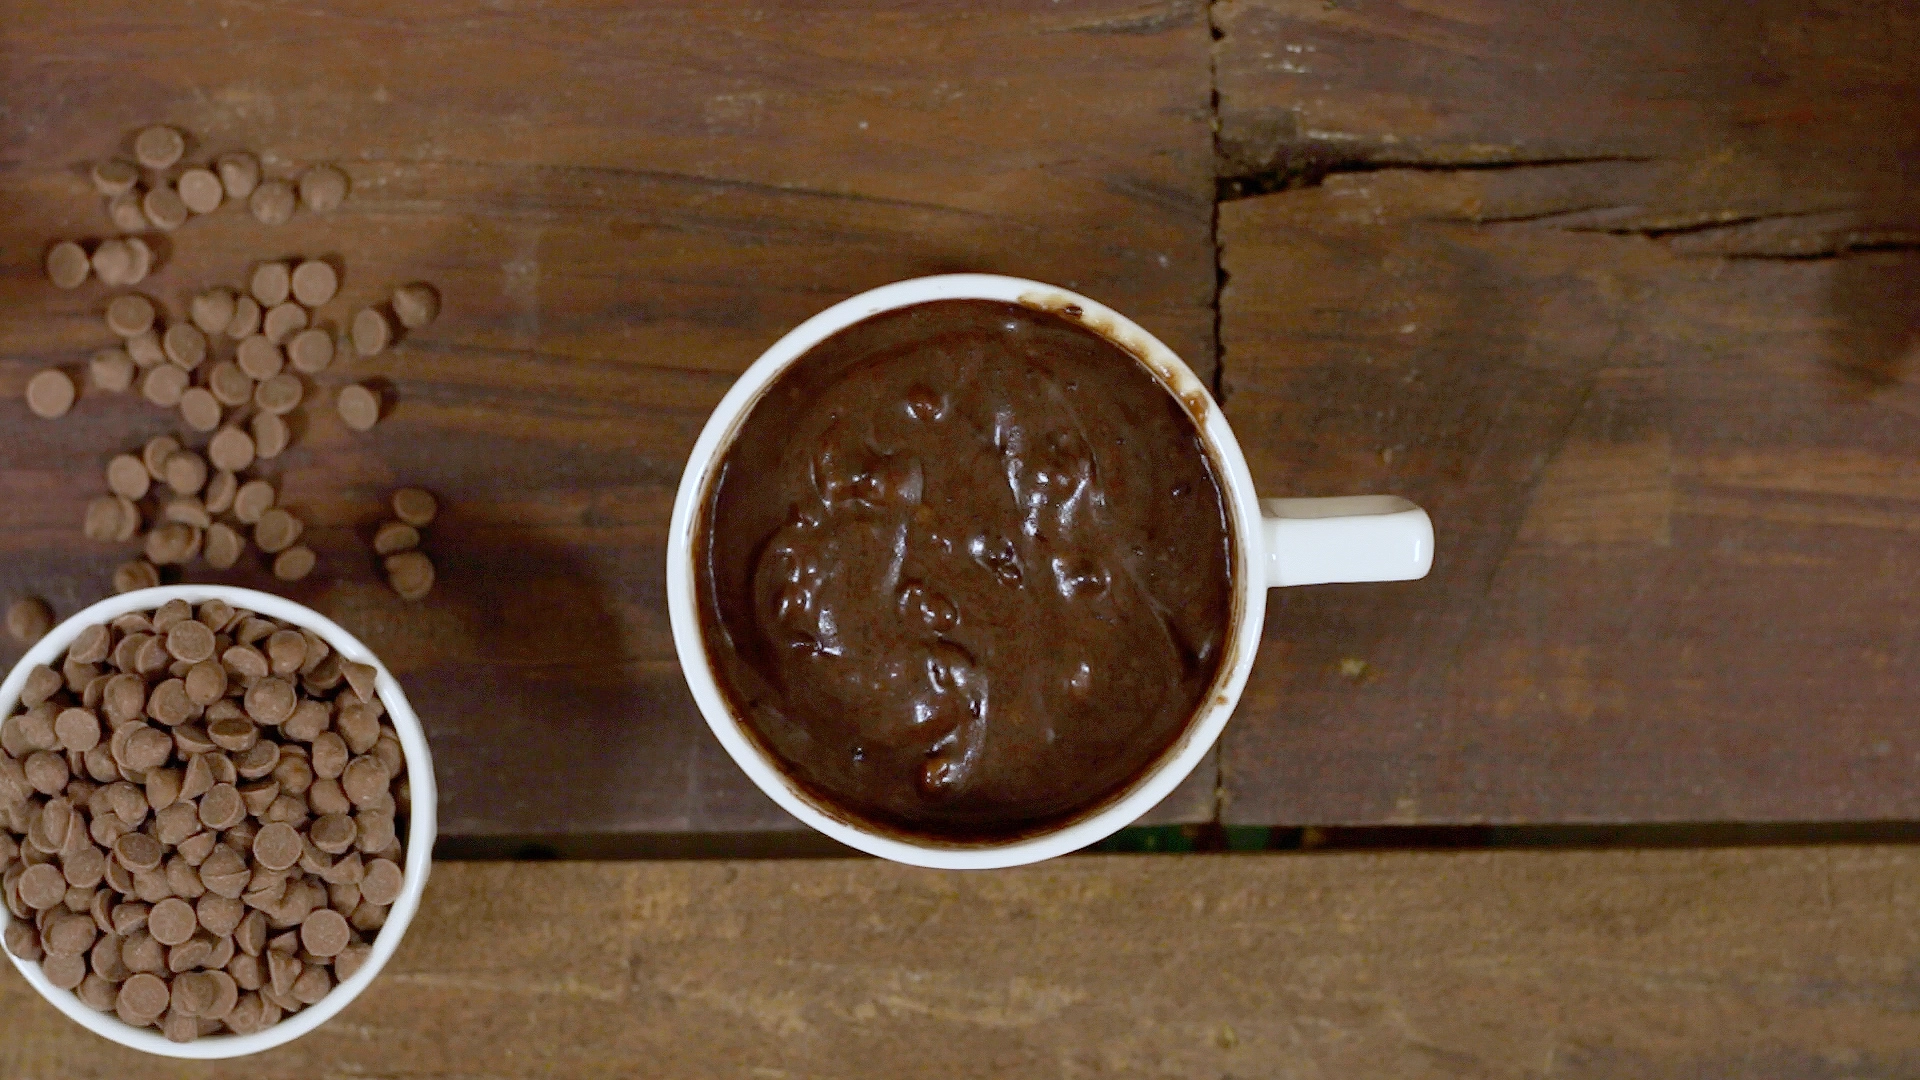 Stir in chocolate chips and fold them into the batter.
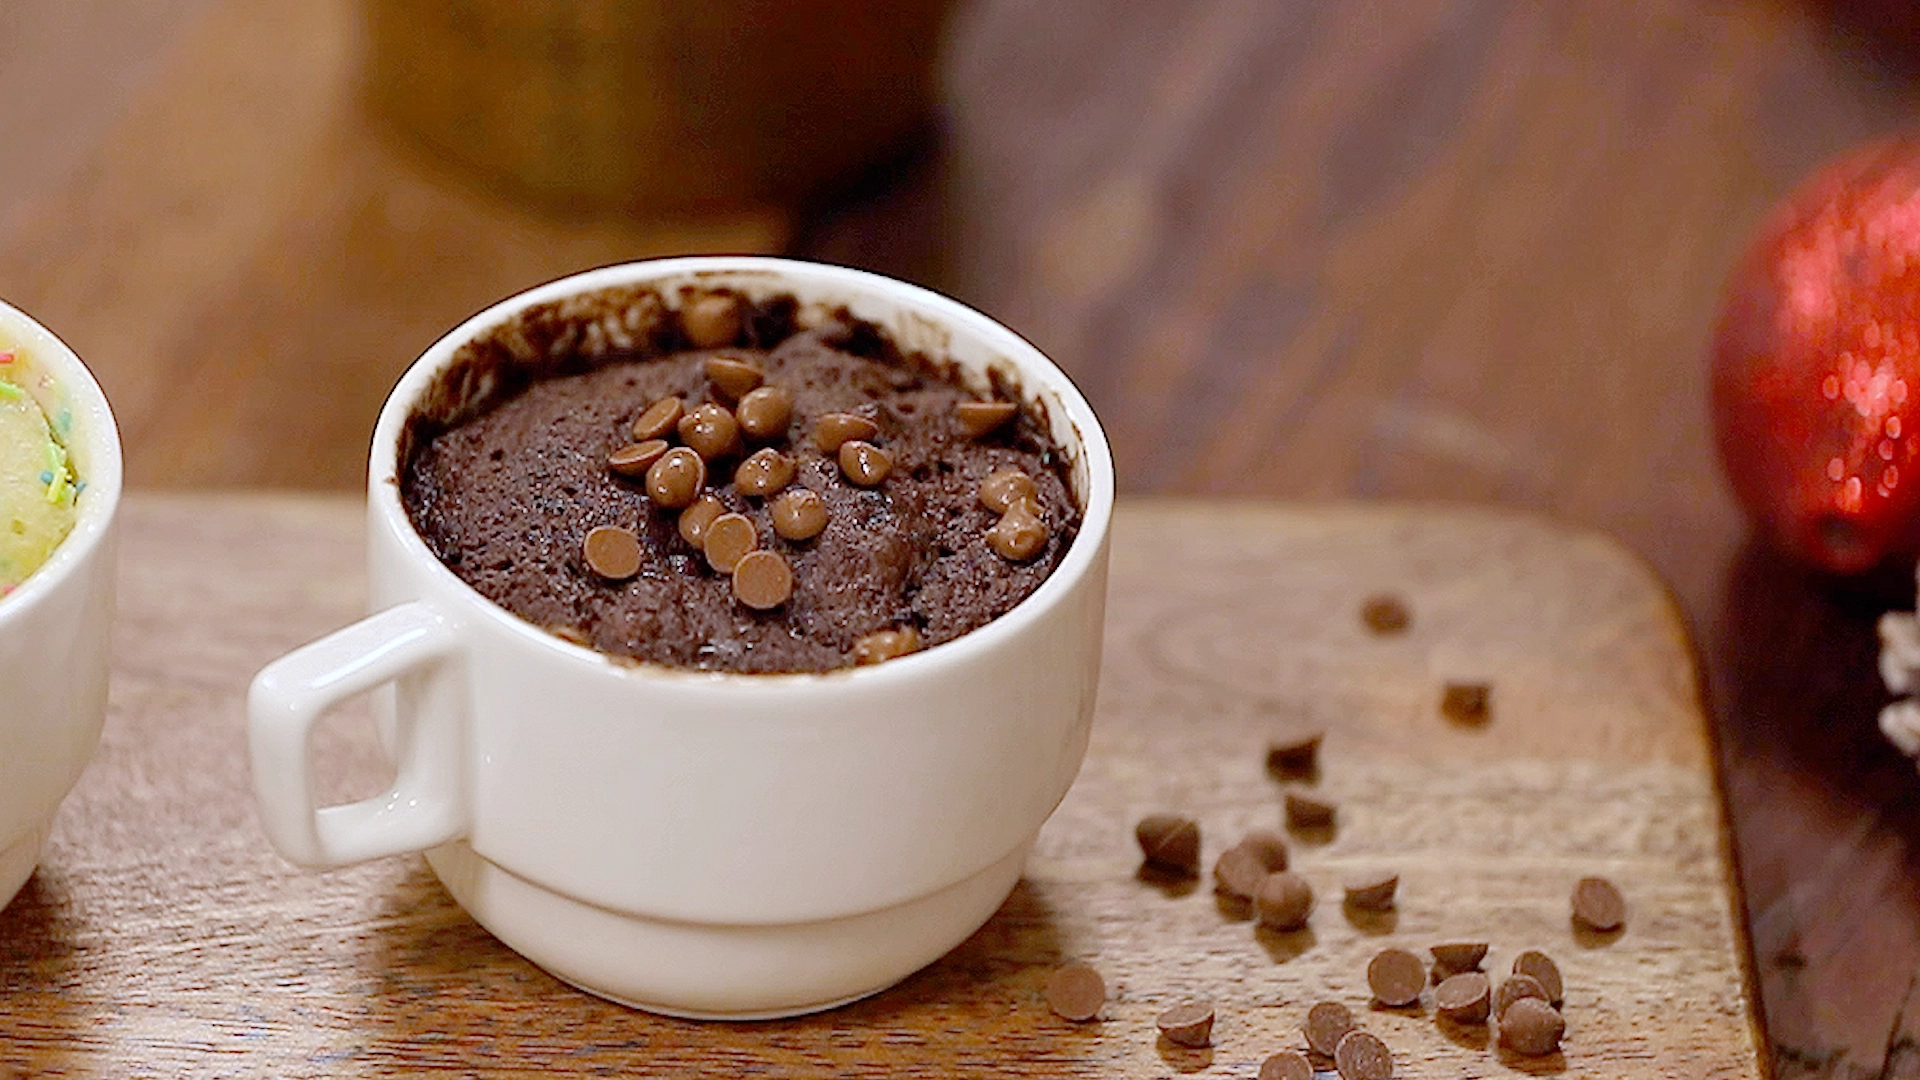 Let it cool for a minute before enjoying. Optionally, top with more chocolate chips.
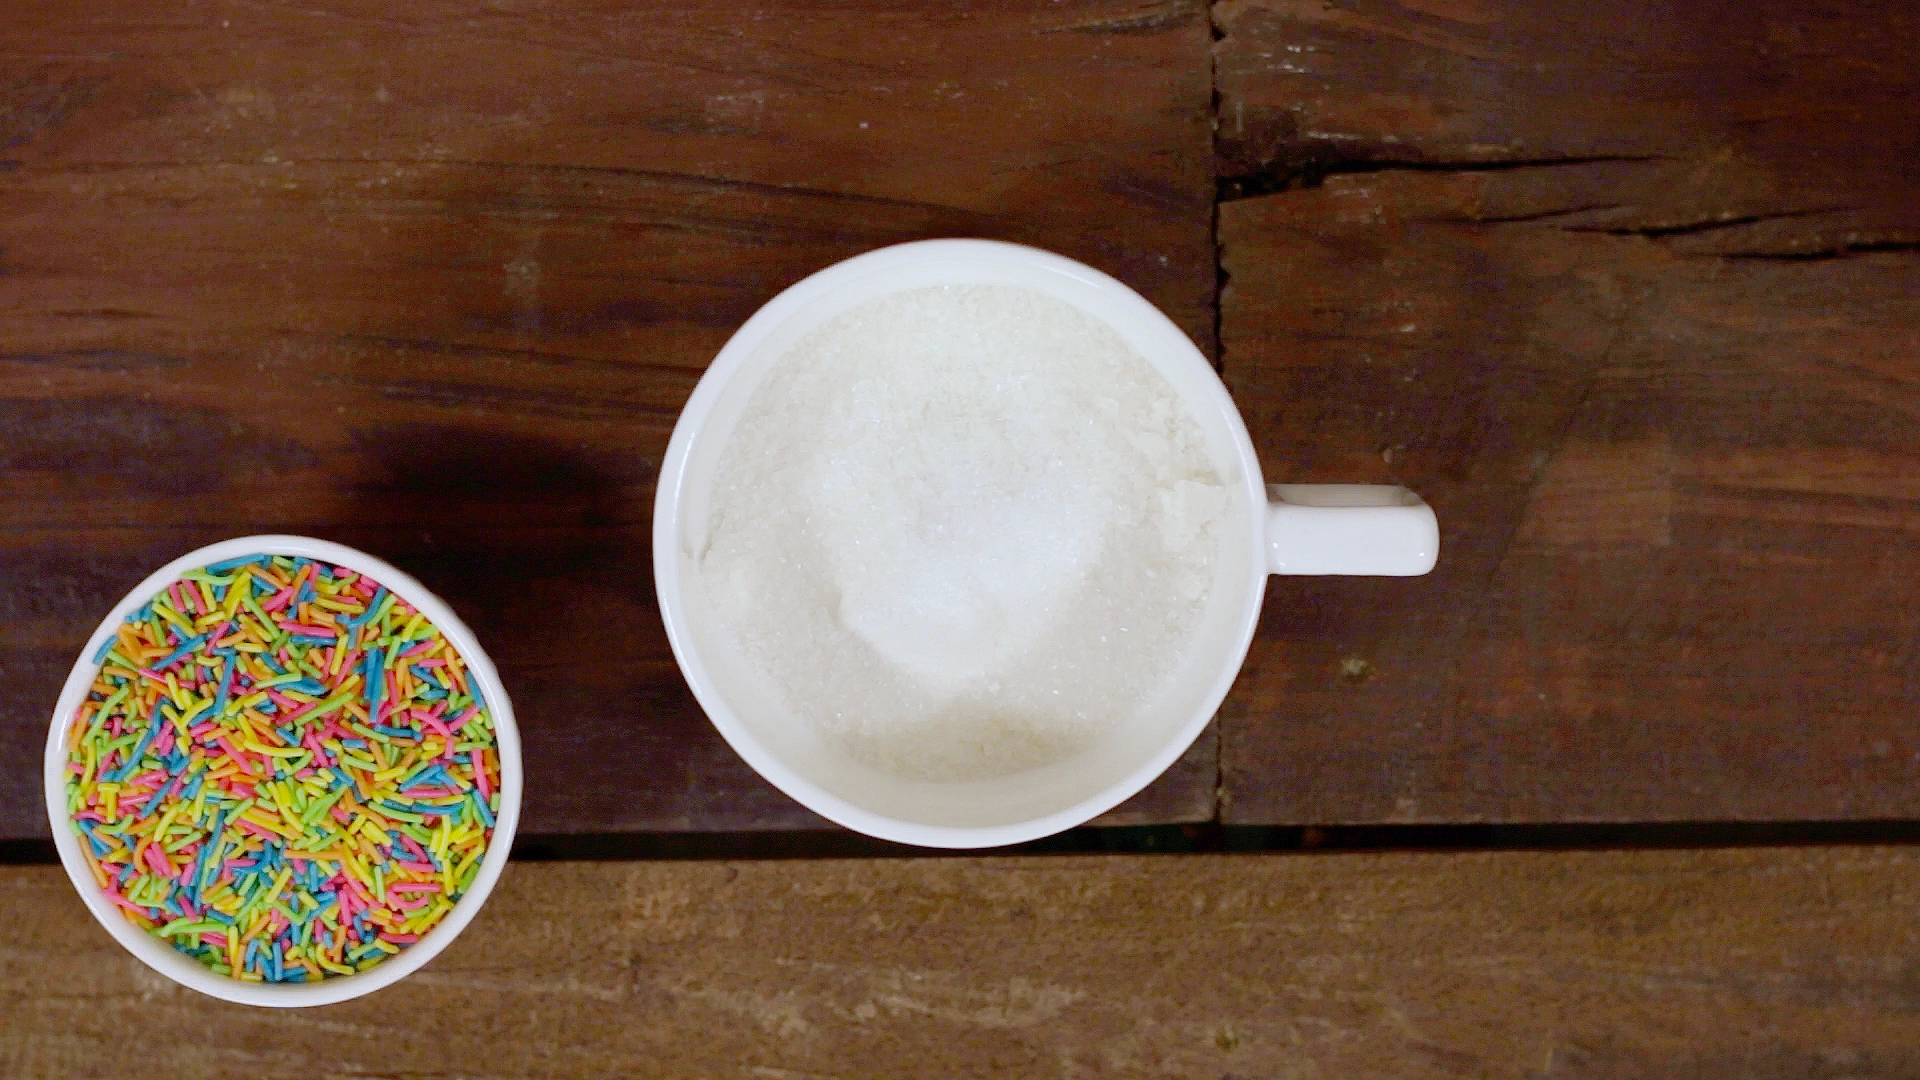
 Stir in sprinkles and fold them into the batter.
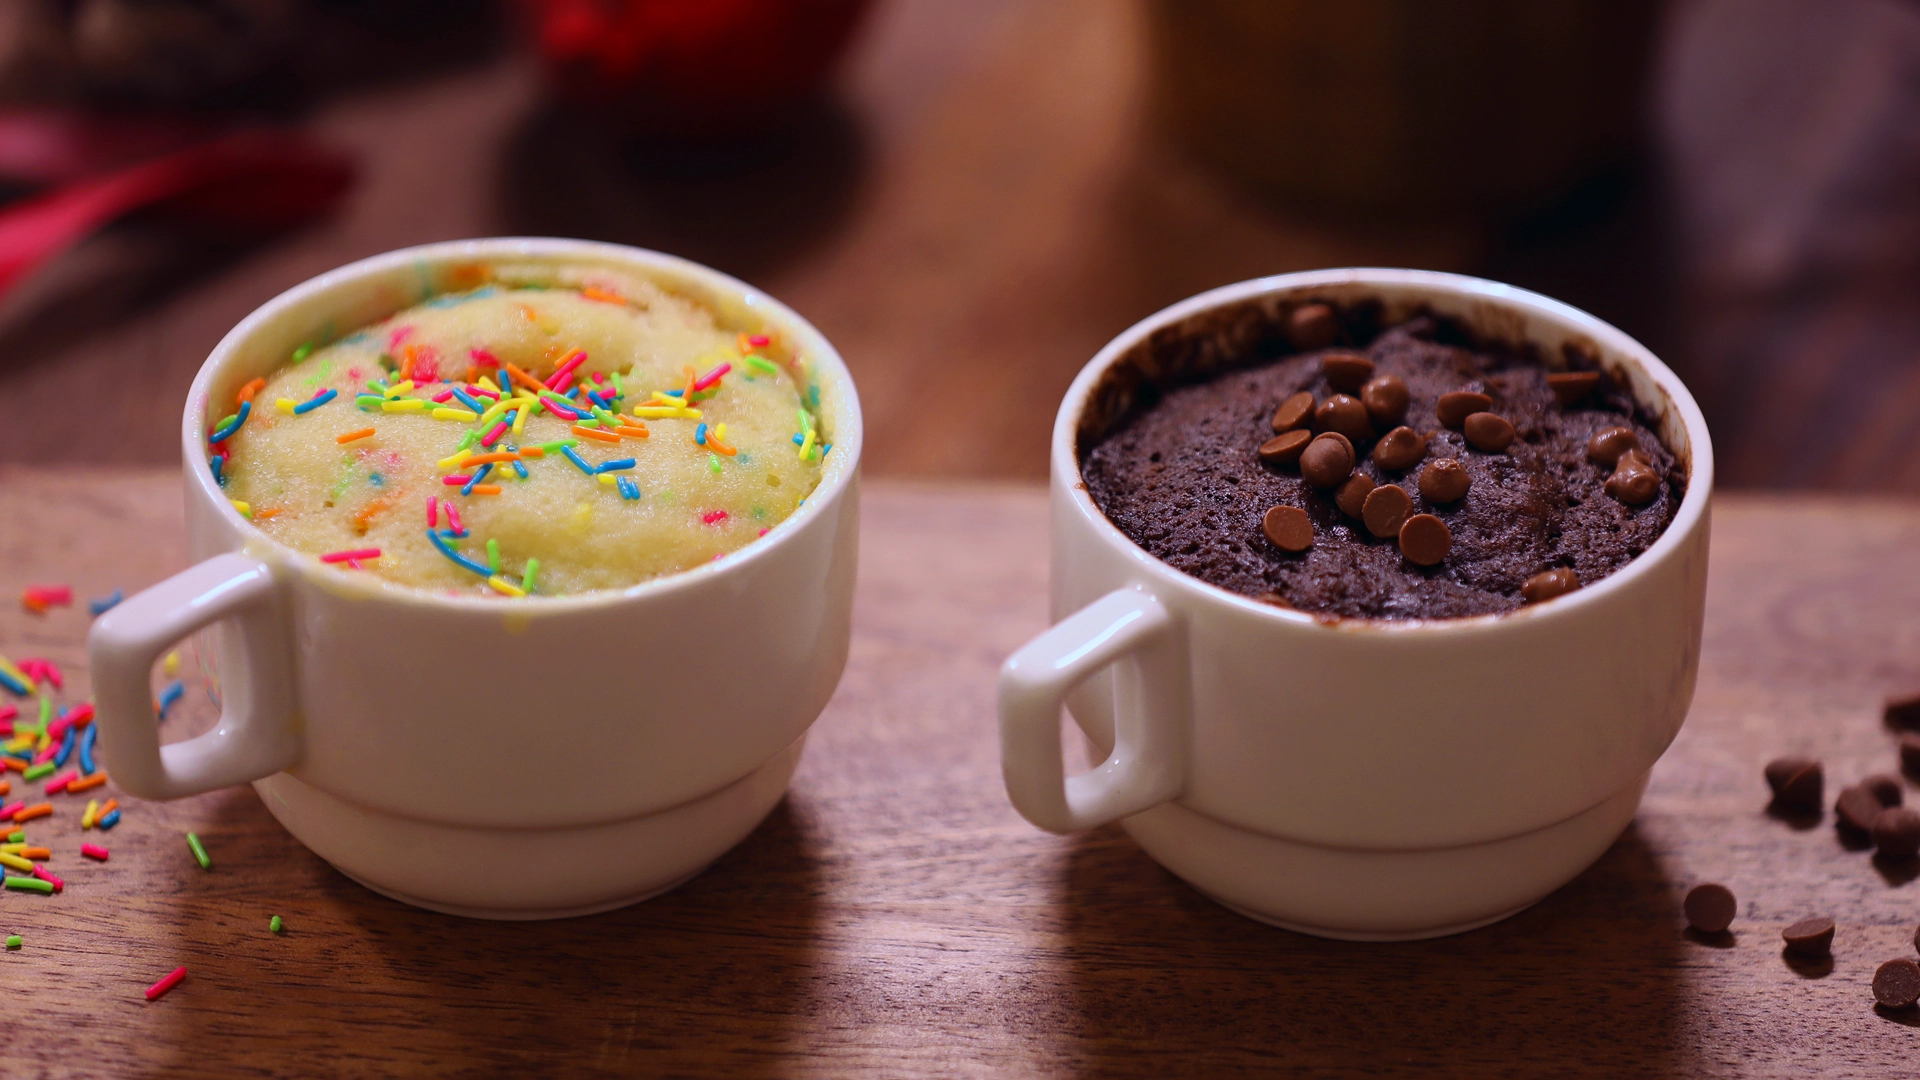 Let it cool for a minute before enjoying it. Optionally, top with more sprinkles.


