When you think of comfort food, what’s the first dish that comes to mind?
For most of us, it’s a warm bowl of Moong Dal Khichdi — simple, soothing, and the ultimate reminder of home. Whether you’re under the weather, craving something light, or looking for a nutritious one-pot meal… khichdi is always the answer!
This version is no onion, no garlic, making it perfect for fasting days, pooja menus, or sattvic meals — yet packed with flavor and great for lunch or a quick dinner, and especially lovely when served with some pickle or papad.
Let’s make it together!
Why You’ll Love This Khichdi
- Wholesome + protein-rich from moong dal
- Easy digestion — great for all age groups
- Cooks in a pressure cooker pot
- Sattvic-friendly, perfect for Navratri or Ekadashi
- Budget-friendly + quick
Ingredient Breakdown
- Moong Dal (Split Green Gram) → protein, gentle on the stomach
- Basmati Rice → soft body to the khichdi
- Turmeric → healing & anti-inflammatory
- Ghee → energy + rich aroma (the soul of khichdi!)
- Cumin & Ginger → helps digestion and boosts flavor
- Green Chilies → subtle heat
- Water → determines if your khichdi is runny or thick
Vegan Swap 🌿: Use cold-pressed oil instead of ghee.
Let’s Cook Together
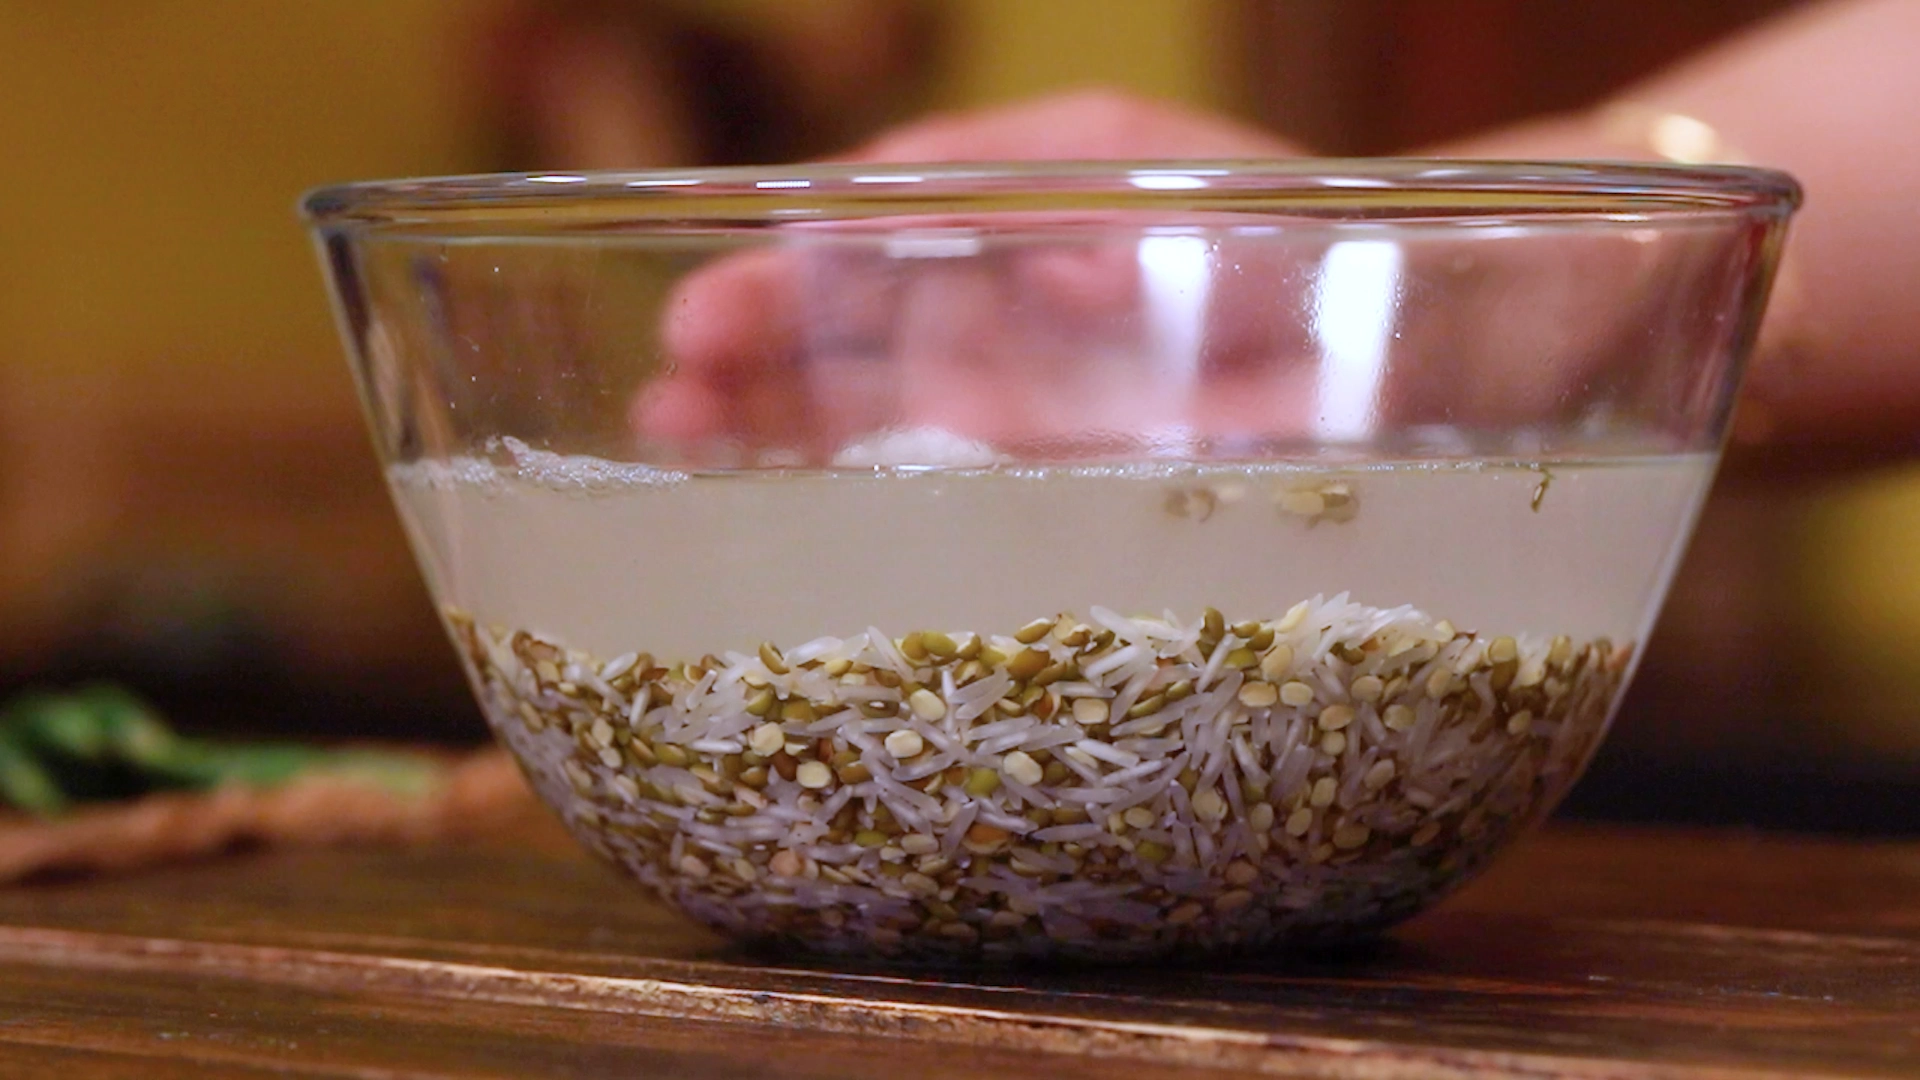
Start by soaking rice and moong dal — just enough time to soften the grains and make them cook faster. After a good rinse, they head straight into the pressure cooker with turmeric, salt, and a spoon of ghee that turns everything creamy as it cooks.
Four whistles later… pure magic.
Soft grains, perfectly cooked dal — exactly what we want!
Meanwhile, heat a little more ghee for the tadka. Let the cumin sizzle, add in the chopped ginger and slit green chillies — that aroma alone is comfort!
Pour the cooked dal-rice mixture into this tadka and mix gently. Feel free to adjust with hot water depending on your mood —
Thick + mashed for a cozy meal… or slightly runny like a warm porridge.
Finish with a sprinkle of fresh coriander — optional but amazing.
Pro Tip 💡: Mash lightly with the back of a spoon after mixing — that’s how you get the creamiest, kid-friendly khichdi!
What Goes Along
- Ghee drizzle — for that temple-style finish
- Papad — crispy contrast to creamy khichdi
- Mango or lemon pickle — adds the perfect tang
- Curd / Buttermilk — a cooling and balanced meal
- Kachumber salad — for a fresh crunch
How to Serve
Serve piping hot with an extra spoon of ghee on top — trust me, it makes all the difference!
Khichdi thickens as it cools — so adjust consistency at serving time.
Storage & Packing Tips
- Stays good for 6–7 hours in lunchboxes
- Add a little water before reheating to bring back creaminess
- For toddlers, mash extra and reduce green chilli heat
Party / Bulk Prep
Feeding a group or serving in a temple kitchen?
- Double or triple the recipe — cooking time stays the same
- Keep in a hotbox or insulated casserole to maintain softness
- Add fresh hot water occasionally if it thickens
Other Related Recipes You Might Like:-
• Lemon Rice – Tangy, quick comfort rice.
• Tamarind Rice – South-Indian style temple puliyodarai flavour.
• Palak Rice – Nutritious spinach rice for a wholesome meal.
• Masala Chitranna (Lunch Rice) – Masala-flavoured mixed rice.
• Horse Gram Rice – Protein-rich and healthy rice dish.
• Mexican Rice – A fusion rice for variety seekers.
• Easy Egg Fried Rice – Comforting rice with protein-packed eggs.
Moong Dal Khichdi
Description
This Moong Dal Khichdi is the ultimate comfort food — soft, creamy, and so satisfying! Made without onion or garlic, it’s light on the stomach yet full of nourishment. Perfect for days when you want a simple, wholesome meal that comes together in minutes. Enjoy it with papad, pickle, or just a spoonful of ghee for a cozy and delicious lunch!
Ingredients
Instructions
Prep Work
-
Wash and soak
Wash green moong dal and rice 2 to 3 times and soak them for one hour.
-
Chop aromatics
Chop ginger and slit green chilli -
Prepare garnish
Chop coriander leaves
Method
-
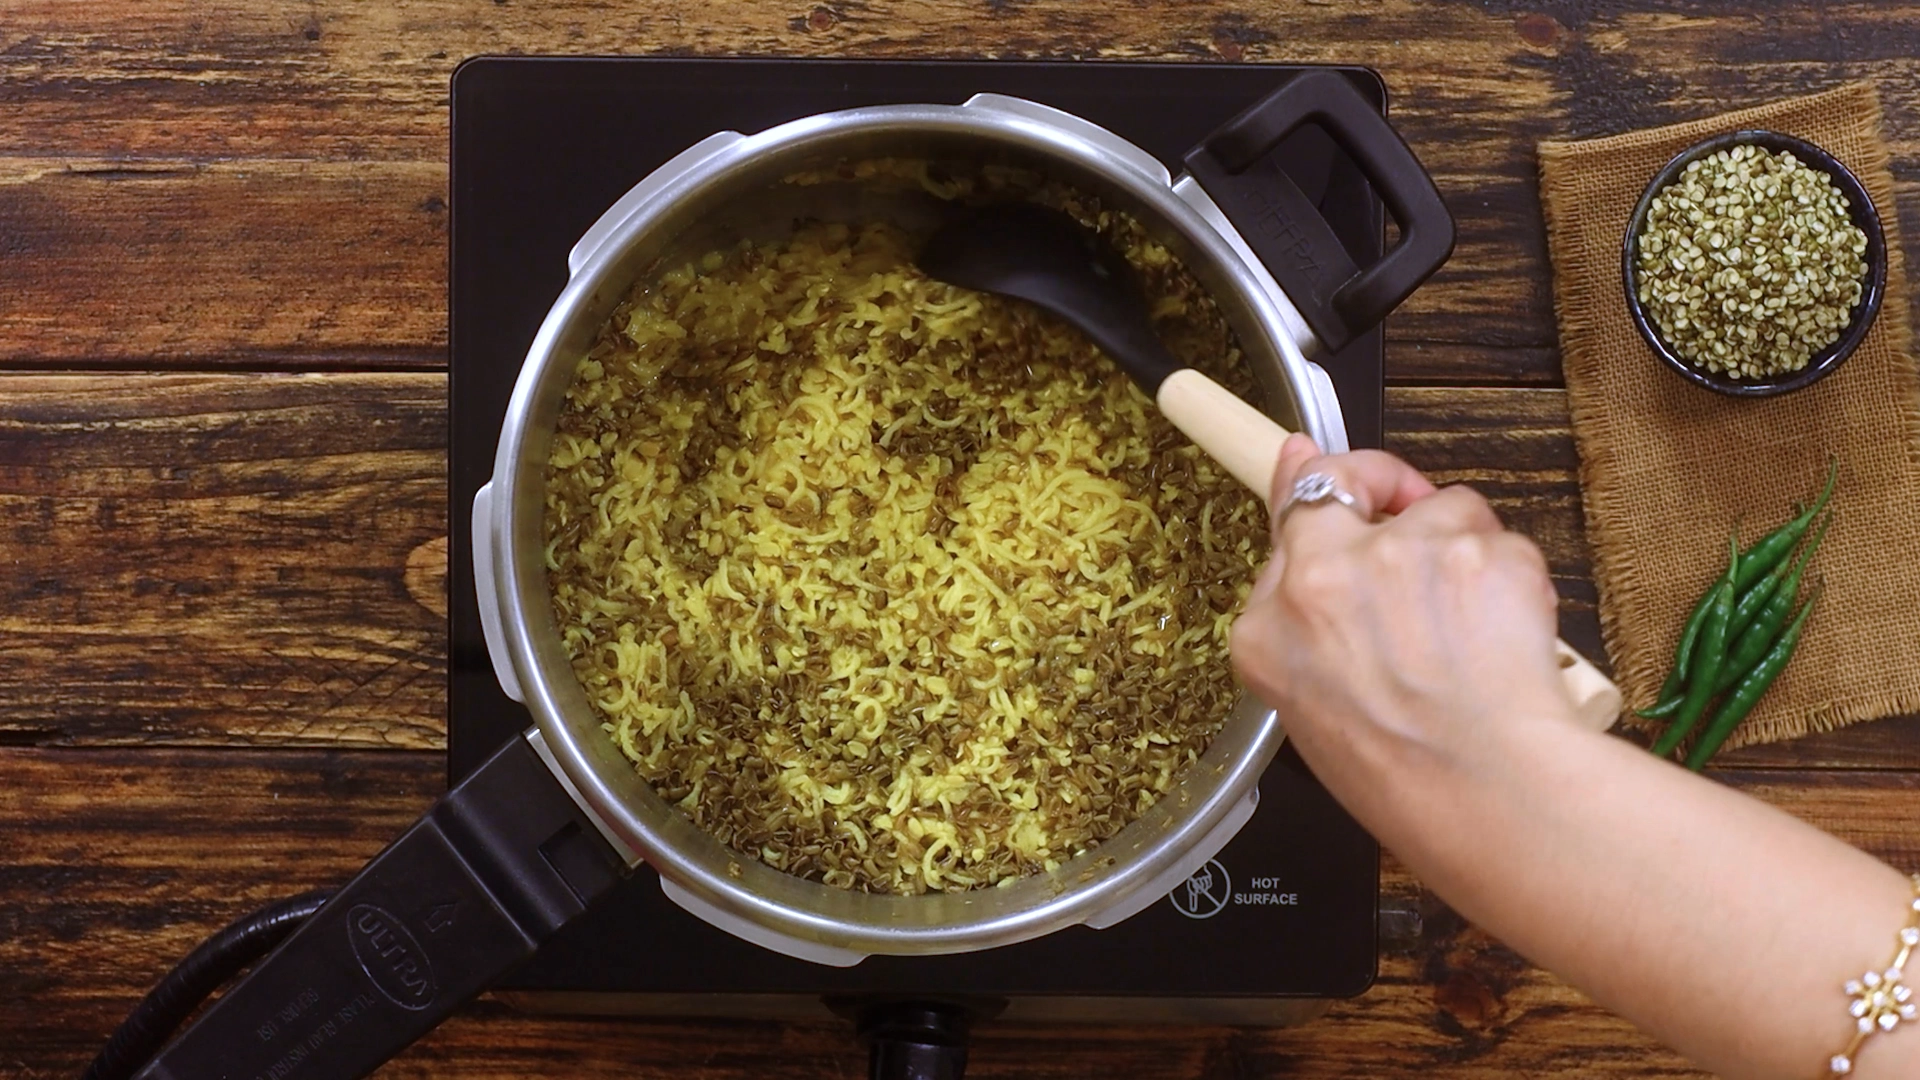
Pressure cook
Transfer soaked dal and rice into the cooker and add turmeric powder, salt and a little ghee. Add water and mix well, cook for 4 whistles on medium flame.
-
Release pressure
Allow pressure to release naturally and open lid. Mix the cooked dal and rice gently -
Temper spices
Heat ghee in pan and add cumin seeds, ginger and green chilli. sauté briefly -
Combine everything
Add cooked dal rice to pan and mix well until creamy -
Adjust consistency
Add hot water if needed to get a goey consistency and adjust salt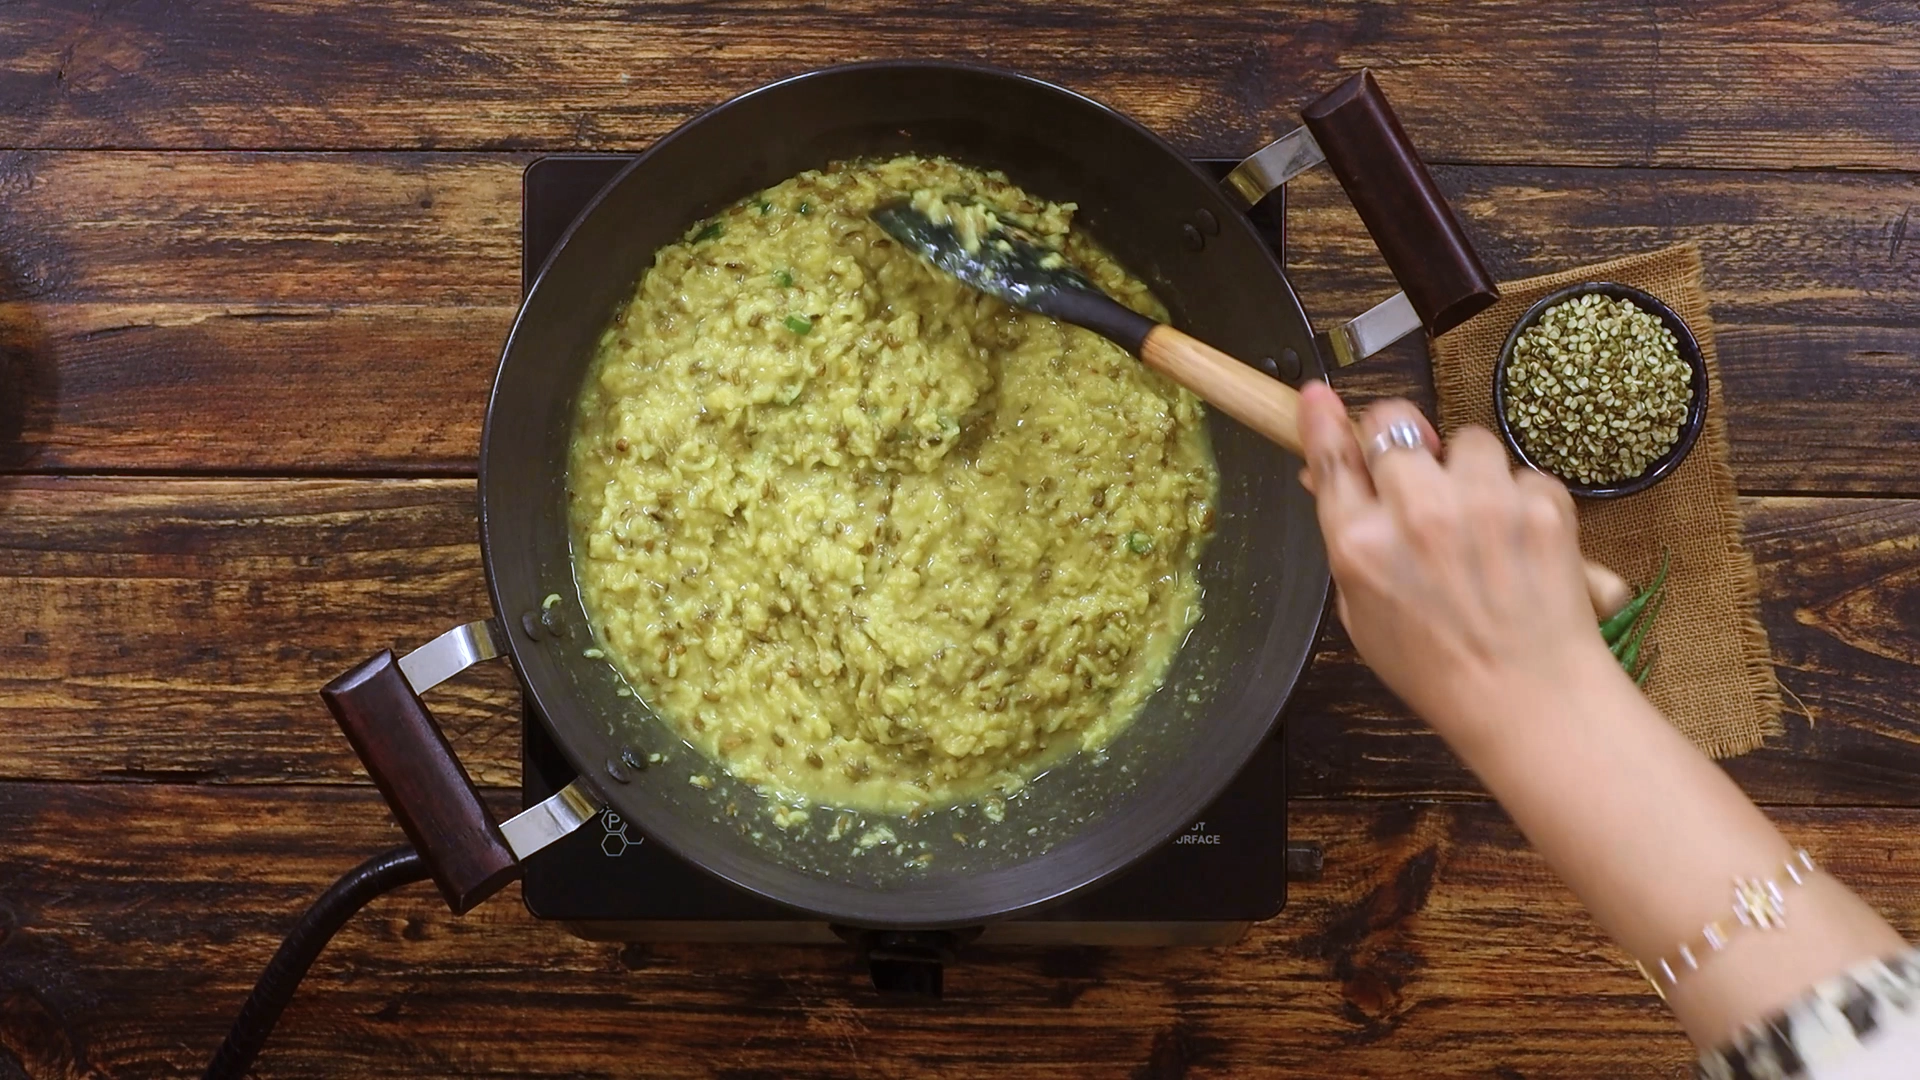
-
Garnish and serve
Garnish with coriander leaves and serve hot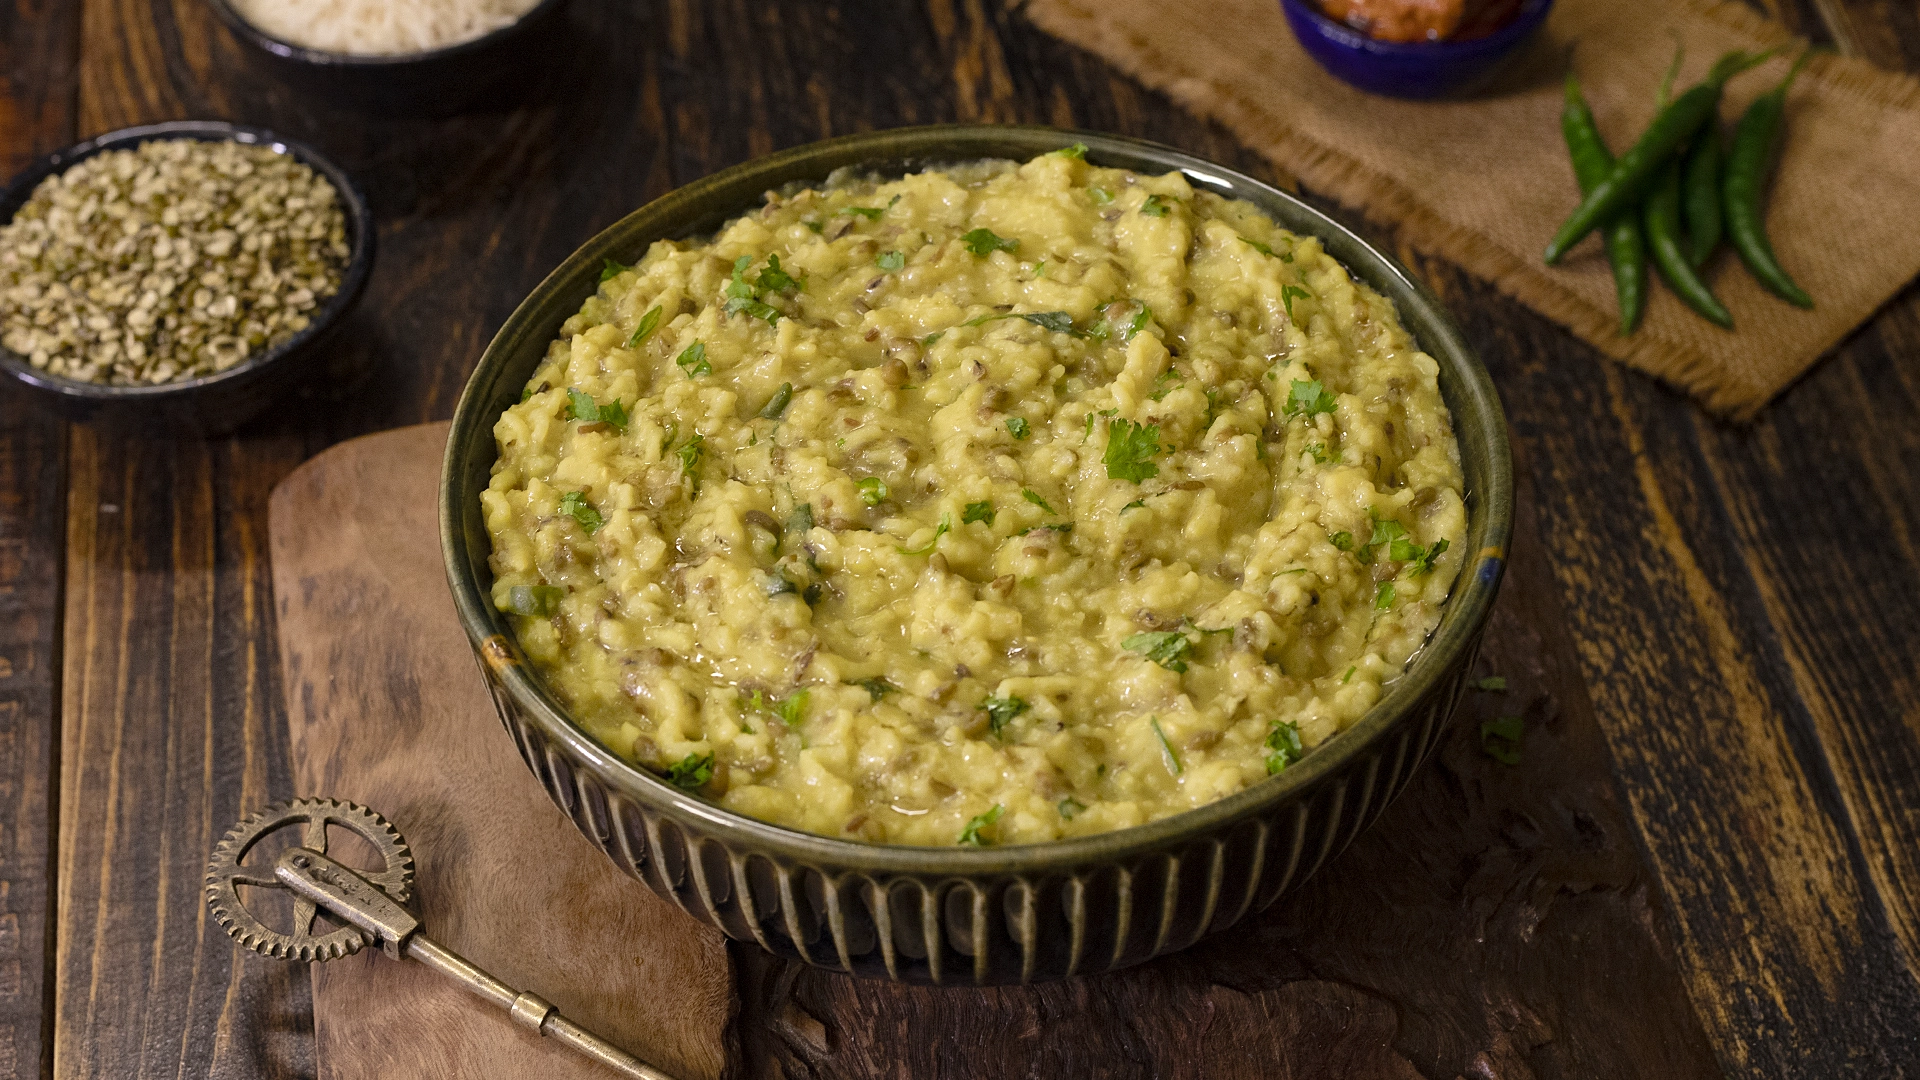
Equipment
 3")


Affiliate Disclosure: This post contains Amazon affiliate links, i.e., when you buy any product using the links below, we get commissions. but it doesn’t cost you anything extra. If you do purchase any product using the given links, we thank you in advance!
Nutrition Facts
Servings 2
- Amount Per Serving
- Calories 245kcal
- % Daily Value *
- Total Fat 5g8%
- Saturated Fat 3g15%
- Cholesterol 10mg4%
- Sodium 540mg23%
- Potassium 295mg9%
- Total Carbohydrate 38g13%
- Dietary Fiber 4g16%
- Sugars 1g
- Protein 10g20%
- Vitamin A 65 IU
- Vitamin C 2 mg
- Calcium 36 mg
- Iron 2.2 mg
- Phosphorus 132 mg
- Magnesium 52 mg
- Zinc 1.2 mg
- Manganese 0.8 mg
* Percent Daily Values are based on a 2,000 calorie diet. Your daily value may be higher or lower depending on your calorie needs.