Ever wish you could get flaky, layered parotta without using refined maida?
Meet Wheat Parotta (Gothumai Parotta) — the healthier, whole-wheat twist on a restaurant favorite.
It gives you those soft-inside, slightly crisp layers you crave, but with more fiber and fewer empty calories. Yes — you can have your comfort bread and feel better about it too.
What this is
Wheat Parotta is a layered flatbread made entirely from whole wheat flour.
The magic comes from two things: a soft, well-rested dough and a simple layering/folding technique that traps thin sheets of dough and ghee so they separate into flaky layers when cooked.
Unlike maida parotta, this version leans on whole-grain nutrition without sacrificing texture.
Why you’ll love it
- Healthier than classic maida parotta — more fiber and micronutrients.
- Versatile — pairs with kurma, salna, paneer, or even as a hearty breakfast wrap.
- Textural satisfaction — soft, pull-apart layers with a lightly crisp exterior.
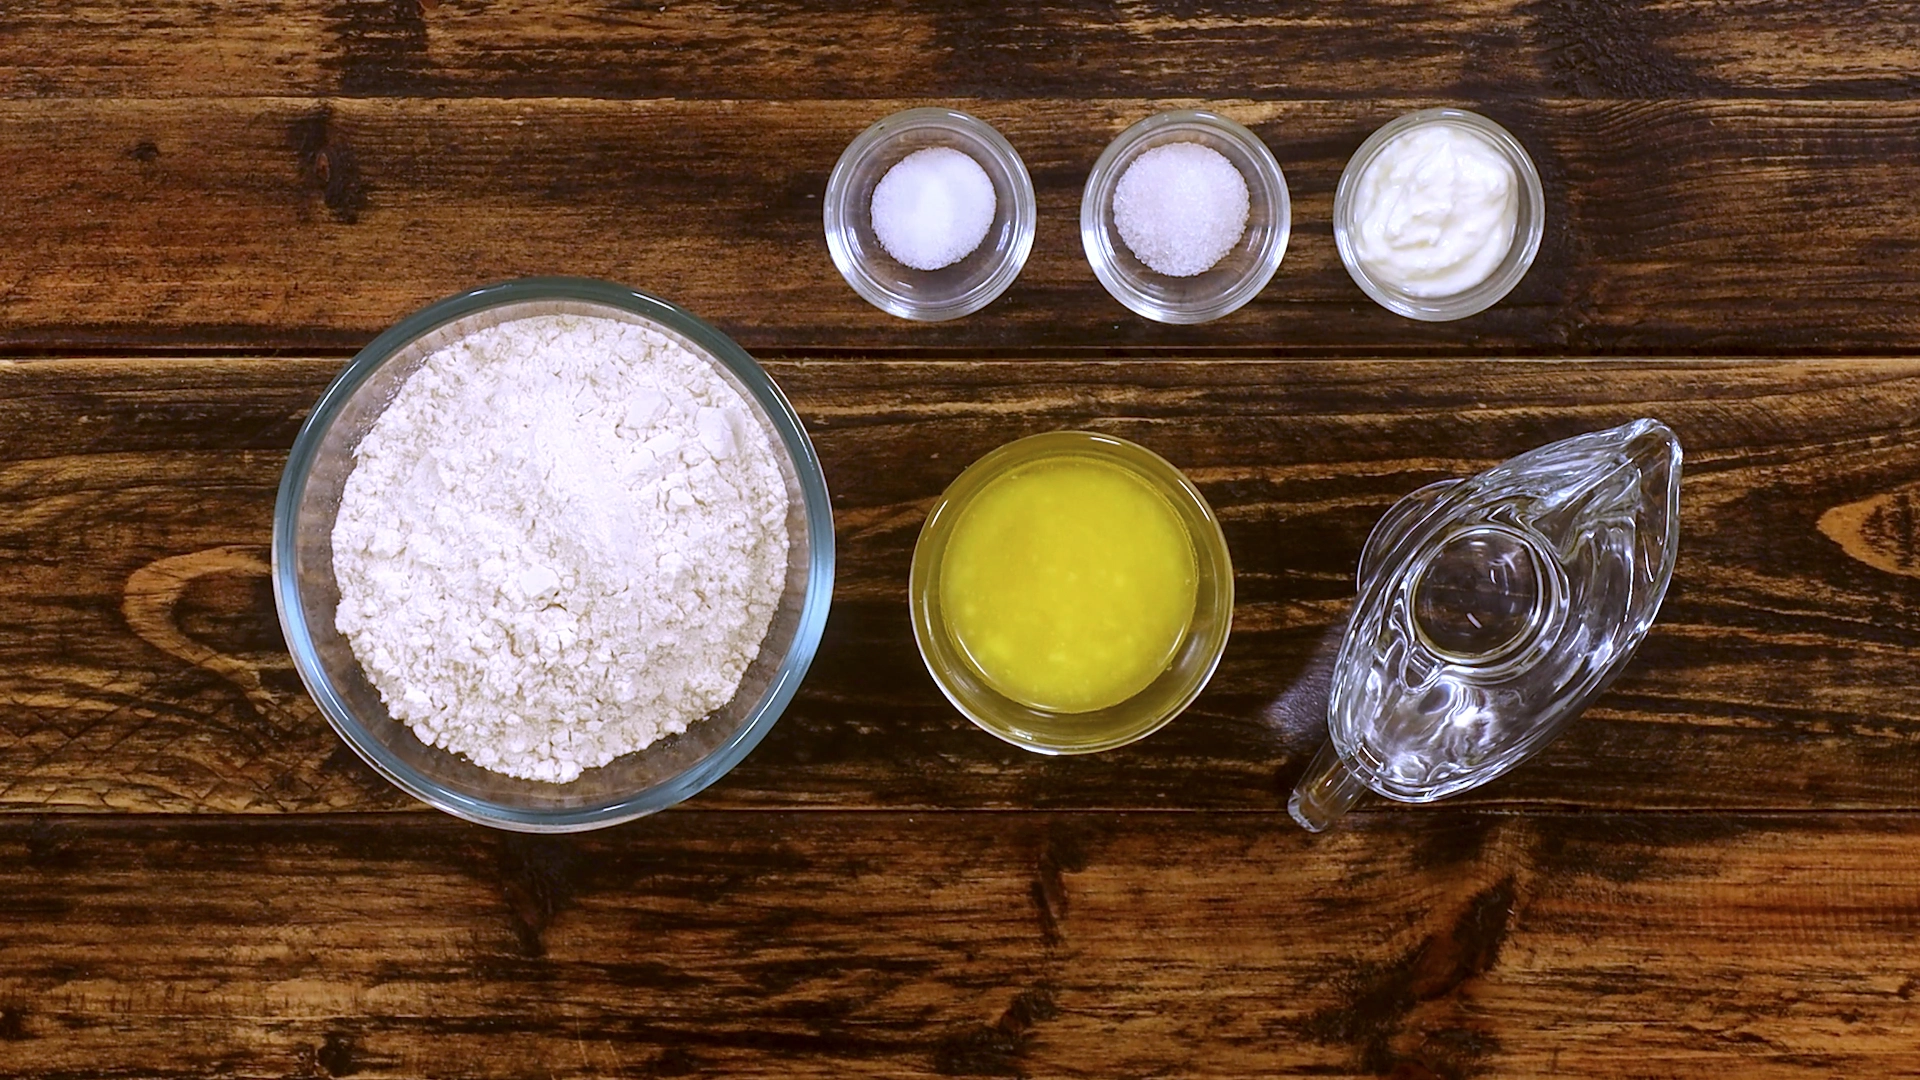
Ingredients breakdown
- Whole wheat flour (gothumai): structure and nutty flavor.
- Curd: tenderizes the gluten, making the parotta softer.
- Ghee: layering agent — creates flaky separation and aroma.
- Sugar & salt: balance and help browning.
- Water: binds everything — temperature matters (lukewarm is best for quicker gluten relaxation).
Vegan Swap 🌿: Replace ghee with a neutral oil (sunflower or light olive oil) for layering and brushing. The texture will still be layered though the aroma will shift away from classic ghee notes.
The real kitchen walkthrough
You don’t need fancy tools — just a rolling board, a little patience, and a light hand.
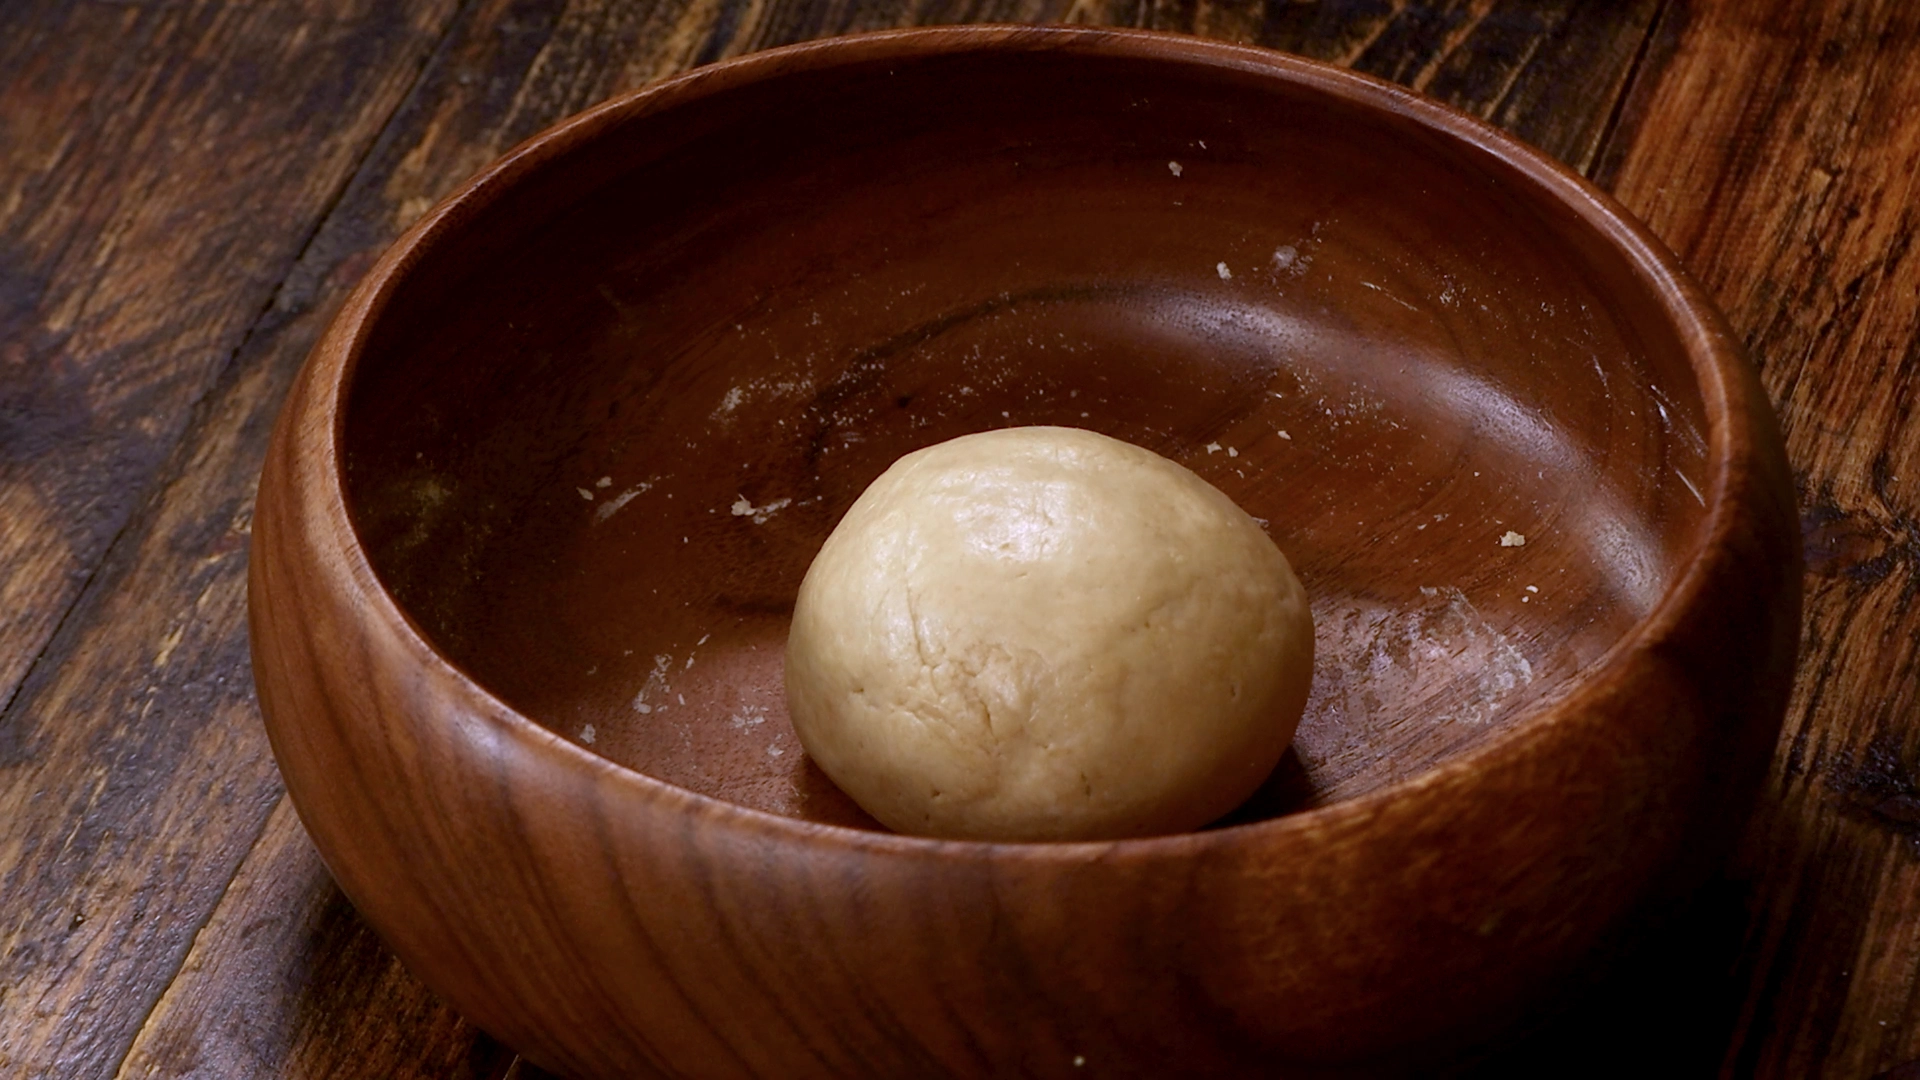
Start by making a soft, slightly tacky dough with wheat flour, a touch of ghee, curd and warm water. Knead until smooth. This builds some gluten, which helps the parotta hold layers. Cover it and let it rest; that relaxes the dough so it rolls thin without springing back.
When you roll, think thin sheets. Roll a ball into a very thin circle, brush a thin film of ghee, and then cut into strips. Stack those strips and coil them into a spiral.
This is the secret that creates layers. Let the spiral rest briefly (10 minutes) so it relaxes. Then gently roll the spiral out into a parotta — don’t press too hard or you’ll mash the layers together.
Cook the parotta on a hot tawa with a little ghee. A couple of flips and light pressing are all it needs. You want golden spots and puffed layers, not a flat, dense roti.
Pro Tip 💡: If your parottas are turning dense, your dough is either too dry or you’re rolling too hard. Add a teaspoon of water (or ghee) to the dough, rest it longer, and rolling it gently is what gives you flaky layers.
What goes along
- Veg kurma or paneer salna — classic, hotel-style pairings.
- Egg bhurji or spicy chicken salna for non-veg meals.
- Pickle + yogurt for a quick, balanced plate.
How to serve
Serve hot, fresh off the tawa. Stack and wrap in a clean cloth to keep warmth and softness if serving a crowd. A final brush of melted ghee right before serving takes it to restaurant level.
Packing & lunchbox tips
- Cool slightly to room temperature, then wrap in foil or an insulated lunchbox. Reheat on a hot pan with a touch of ghee; a splash of water and a covered pan helps regenerate softness.
- For travel/long day outs, layer with parchment paper to stop parottas from sticking and keep edges slightly crisp.
Party & bulk prep
- Make the dough the night before and refrigerate. Divide and shape spirals in advance, refrigerate on trays (covered) and roll & cook just before serving.
- For large batches, a two-person assembly line (one rolling, one coiling/cooking) speeds things up dramatically. Use multiple burners if possible.
Wheat Parotta
Description
Soft, flaky, and full of layers — this wheat parotta (gothumai parotta) is a healthier twist on the classic South Indian favorite. Made with whole wheat flour, a touch of ghee, and simple pantry ingredients, it delivers that perfect balance of softness inside and crisp flakiness outside. Pair it with a veg salna, chicken curry, or even a simple chutney, and you’ve got a comforting meal that feels special yet easy enough for any day. This recipe is designed to be approachable, so even if you’ve never tried making parotta before, you’ll be surprised at how doable (and rewarding!) it is.
Ingredients
Instructions
Prep Work
-
Measure ingredients
Gather and measure all ingredients and place them nearby so you can work without stopping.
Method
-
Make dough
Put the wheat flour in a mixing bowl, add salt, sugar, curd and ghee, mix, then add water little by little while kneading into a soft, smooth dough. drizzle a little ghee on top, cover and let the dough rest for 30 mins.
-
Divide dough
After the dough has rested, divide it into even balls. -
Roll thin sheet
Grease the rolling board lightly and roll one dough ball into a thin sheet without tearing it. -
Apply ghee and cut
Brush the rolled sheet with ghee, then slice it into strips using a pizza cutter or knife.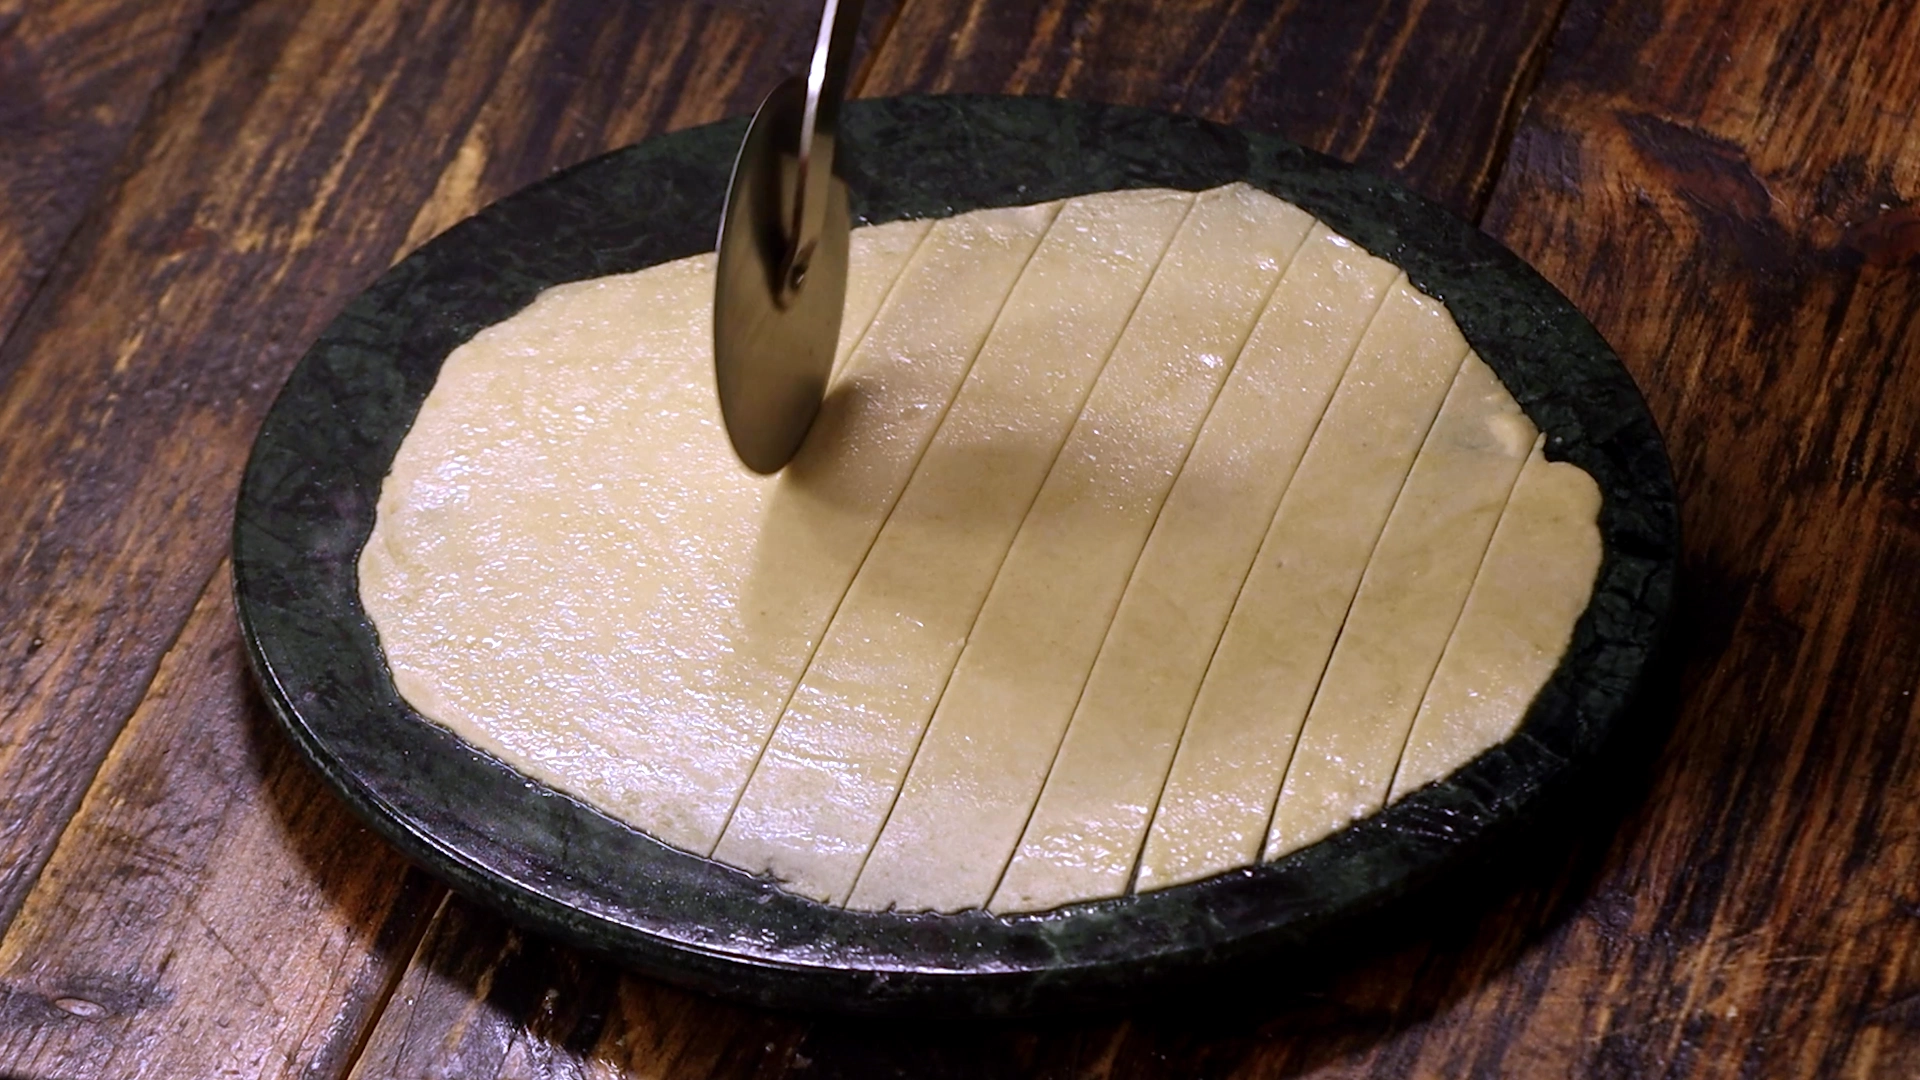
-
Fold into spiral
Fold the strips over one another, then roll them into a spiral ball to create layers. Apply ghee on both sides of the spiral. Repeat for all balls and let them rest for 10 mins.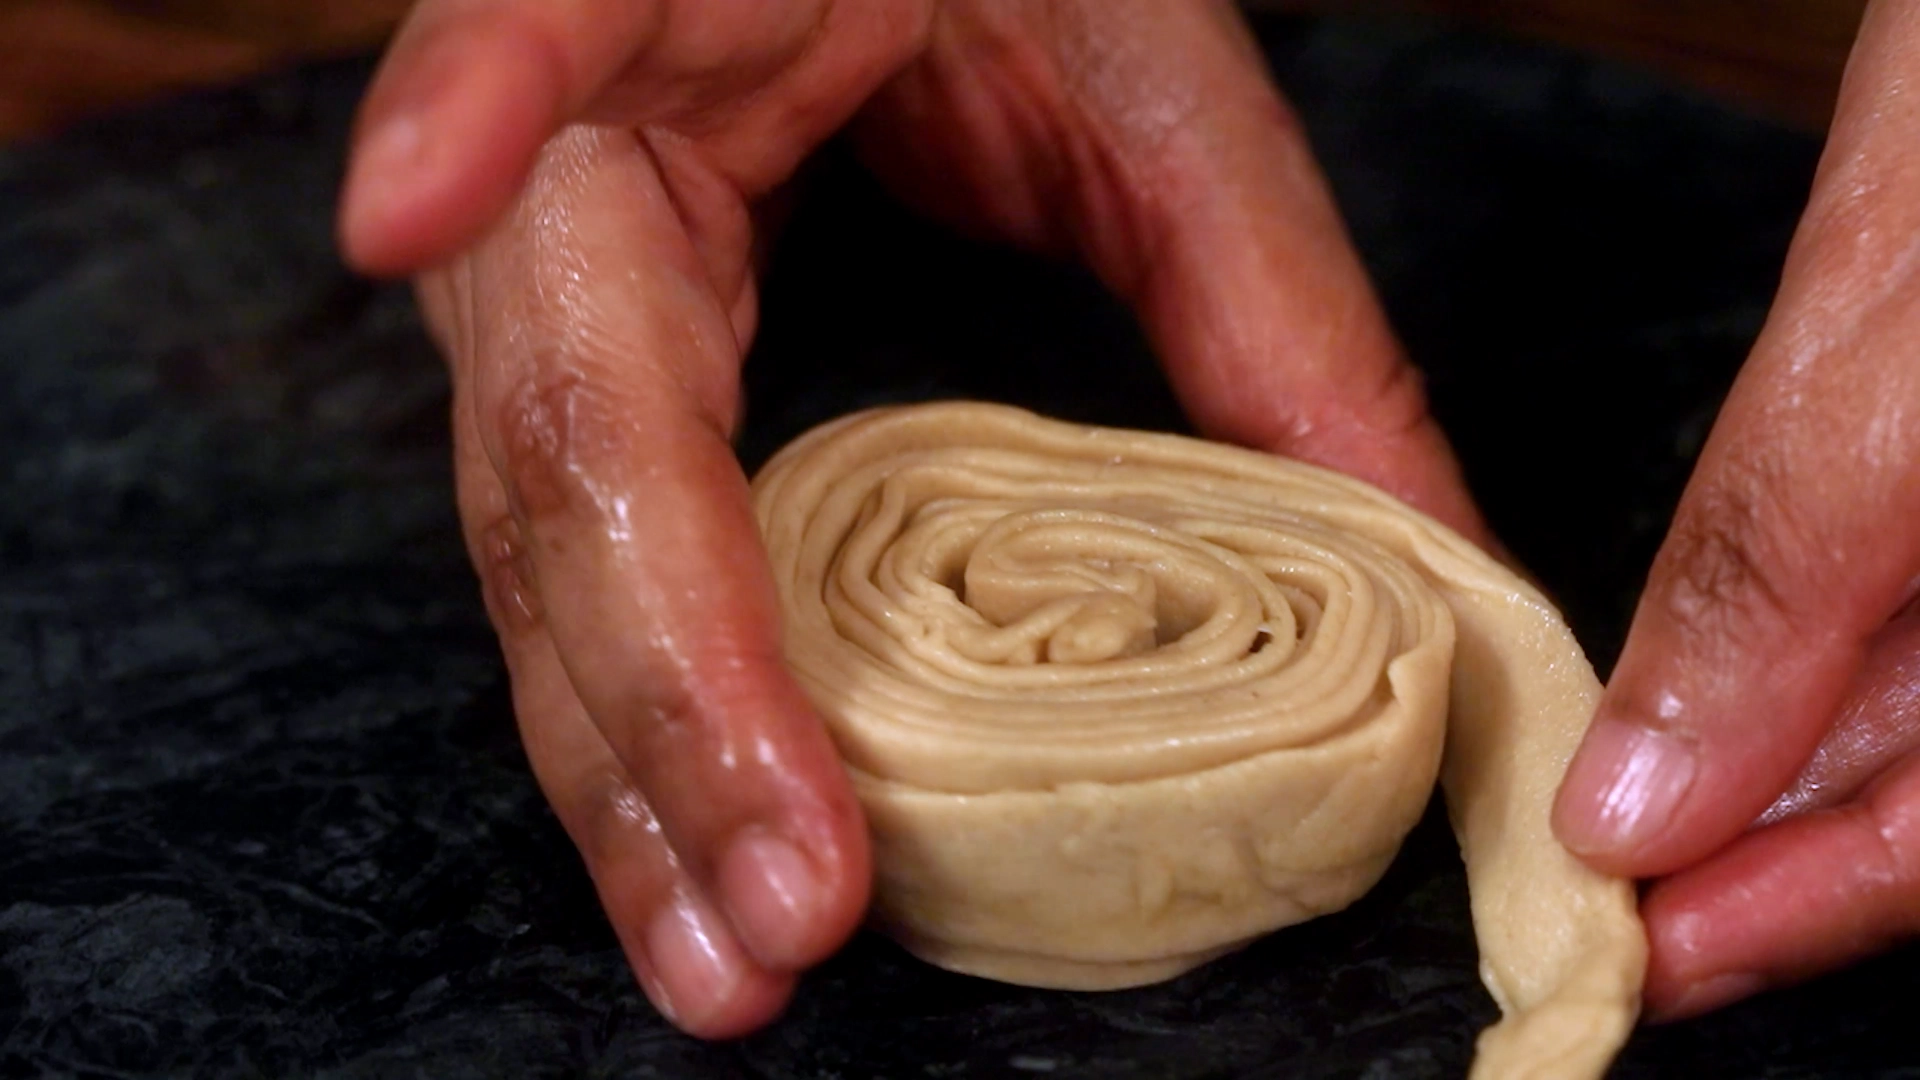
-
Roll into parotta
Gently roll each spiral into a parotta, being careful not to press too hard so the layers remain visible. -
Cook on tawa
Heat the tawa, place the parotta, cook briefly, flip, drizzle ghee, press lightly and cook until golden brown spots appear on both sides. -
Serve
Remove from tawa and serve hot with veg or non-veg salna for a perfect combo.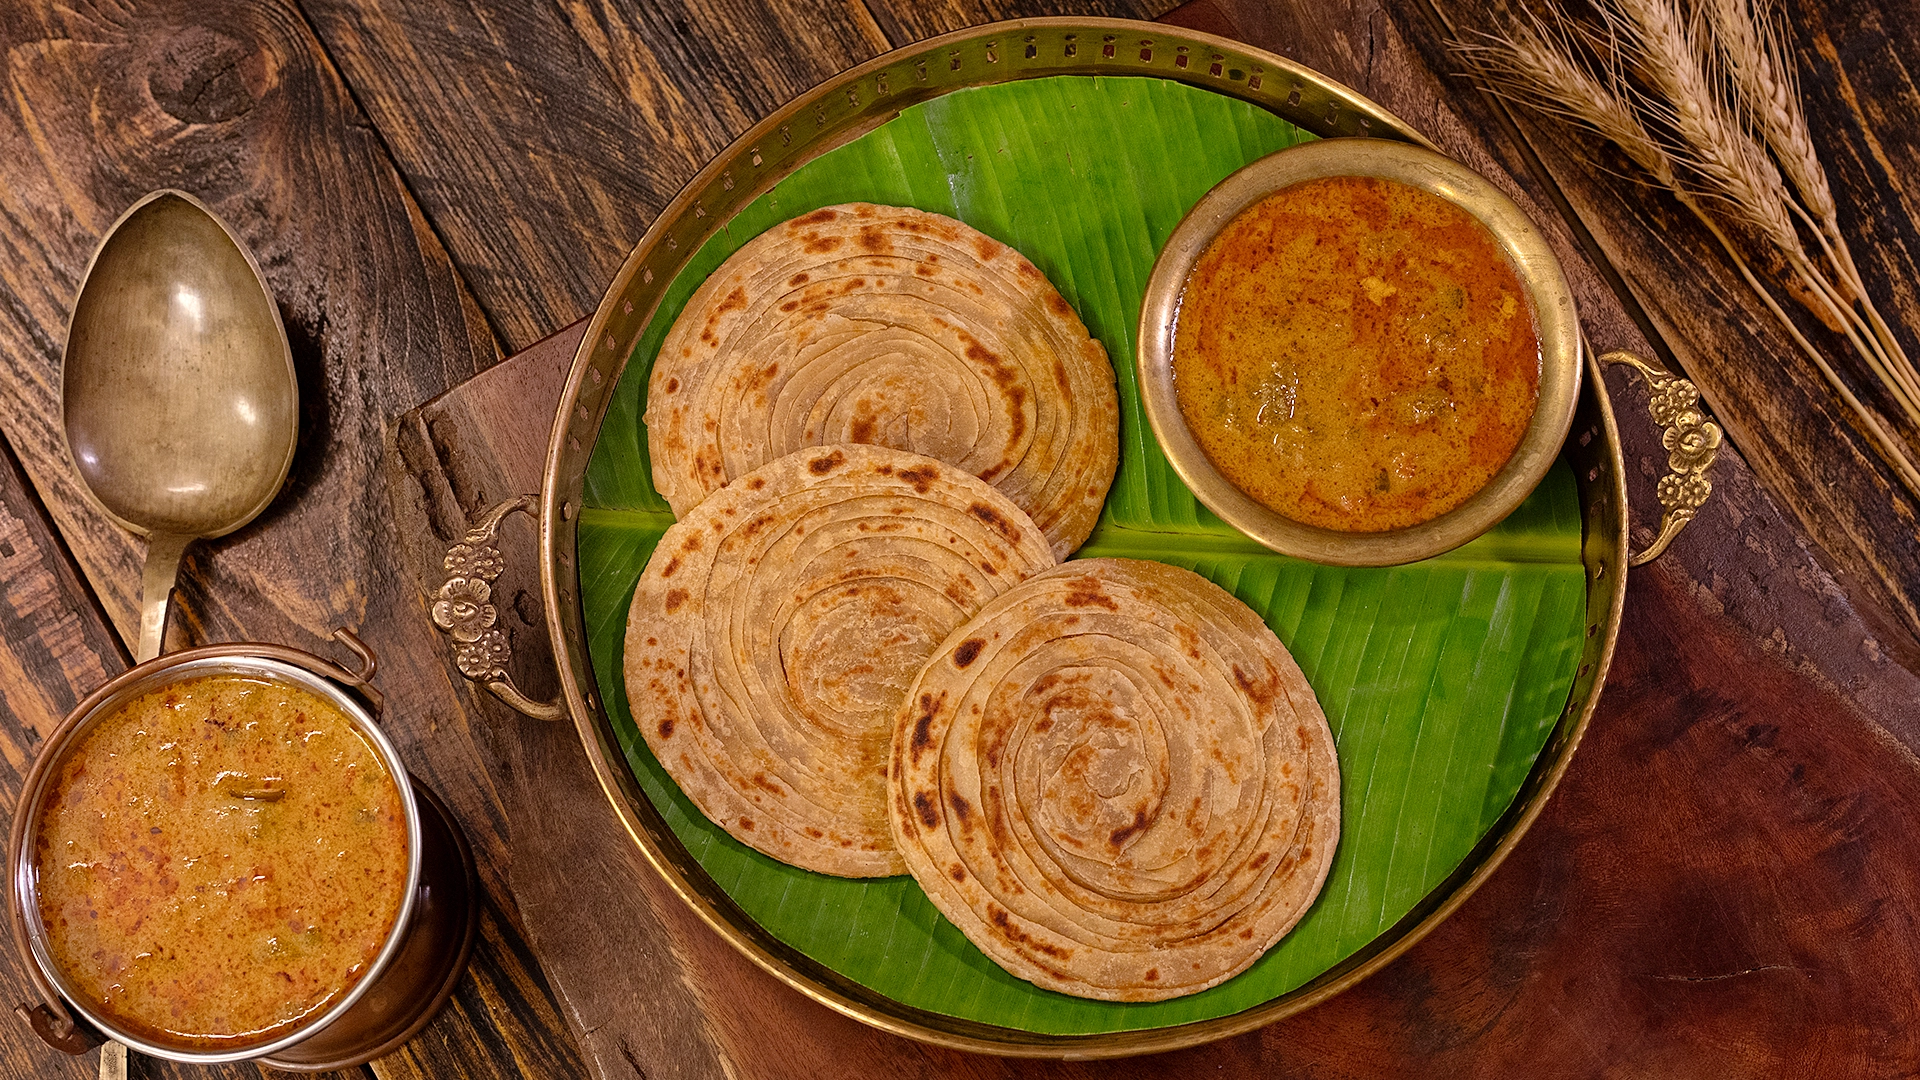
Equipment


Affiliate Disclosure: This post contains Amazon affiliate links, i.e., when you buy any product using the links below, we get commissions. but it doesn’t cost you anything extra. If you do purchase any product using the given links, we thank you in advance!
Nutrition Facts
Servings 3
- Amount Per Serving
- Calories 185kcal
- % Daily Value *
- Total Fat 6.1g10%
- Saturated Fat 3.2g16%
- Cholesterol 12.8mg5%
- Sodium 194mg9%
- Potassium 162mg5%
- Total Carbohydrate 29.6g10%
- Dietary Fiber 1.3g6%
- Sugars 0.8g
- Protein 5.4g11%
- Calcium 16.6 mg
- Iron 1.4 mg
* Percent Daily Values are based on a 2,000 calorie diet. Your daily value may be higher or lower depending on your calorie needs.